


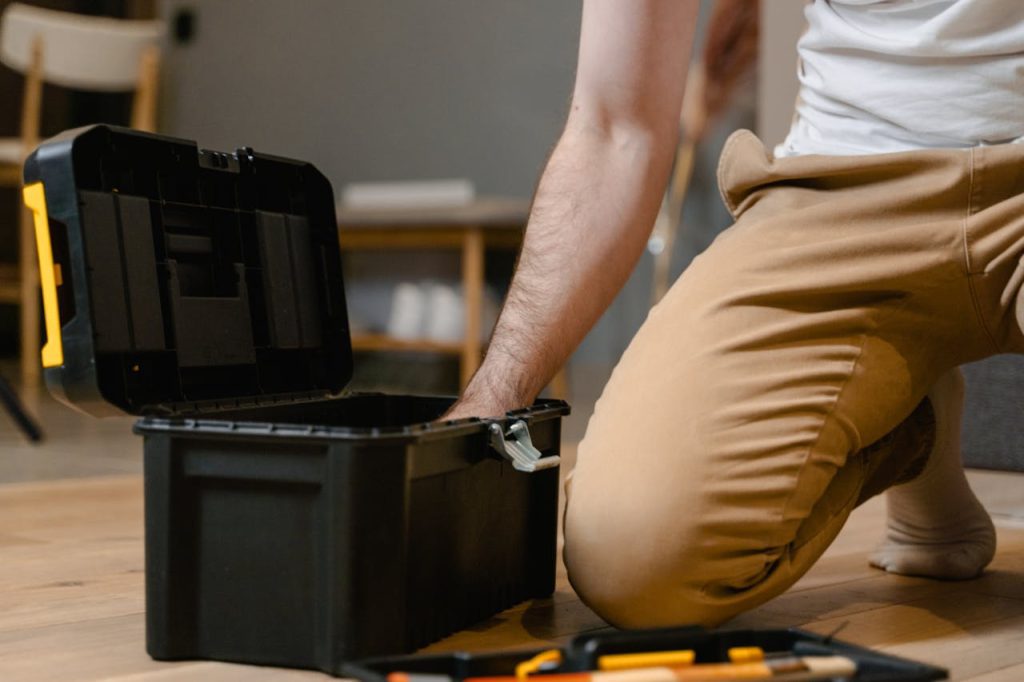
# 11 Home Repairs I Learned to Do Myself Ever feel overwhelmed by home repairs that never seem to end? You’re not alone. But what if I told you that you could save a significant amount of money, and perhaps even time, by learning to do some of these repairs yourself? I’ve discovered, by necessity and curiosity, how to handle many common home repairs. I’m here to share those valuable skills with you. Here are 11 home repairs I’ve learned to do myself.
1. Fixing a Leaky Faucet


Learning how to fix a leaky faucet was my first venture into DIY home repairs. The continuous dripping sound can be annoying, but more importantly, it can lead to water wastage and increased bills. For this fix, you’ll generally need a wrench and possibly a new washer. Turn off the water supply, then open the faucet to release any residual water. Using your wrench, unscrew the handle of the faucet to reveal the stem. Remove that as well and you’ll find the washer. If it’s damaged or worn out, replacing it will likely solve the problem. Remember to reassemble everything in reverse order.
2. Unclogging a Drain
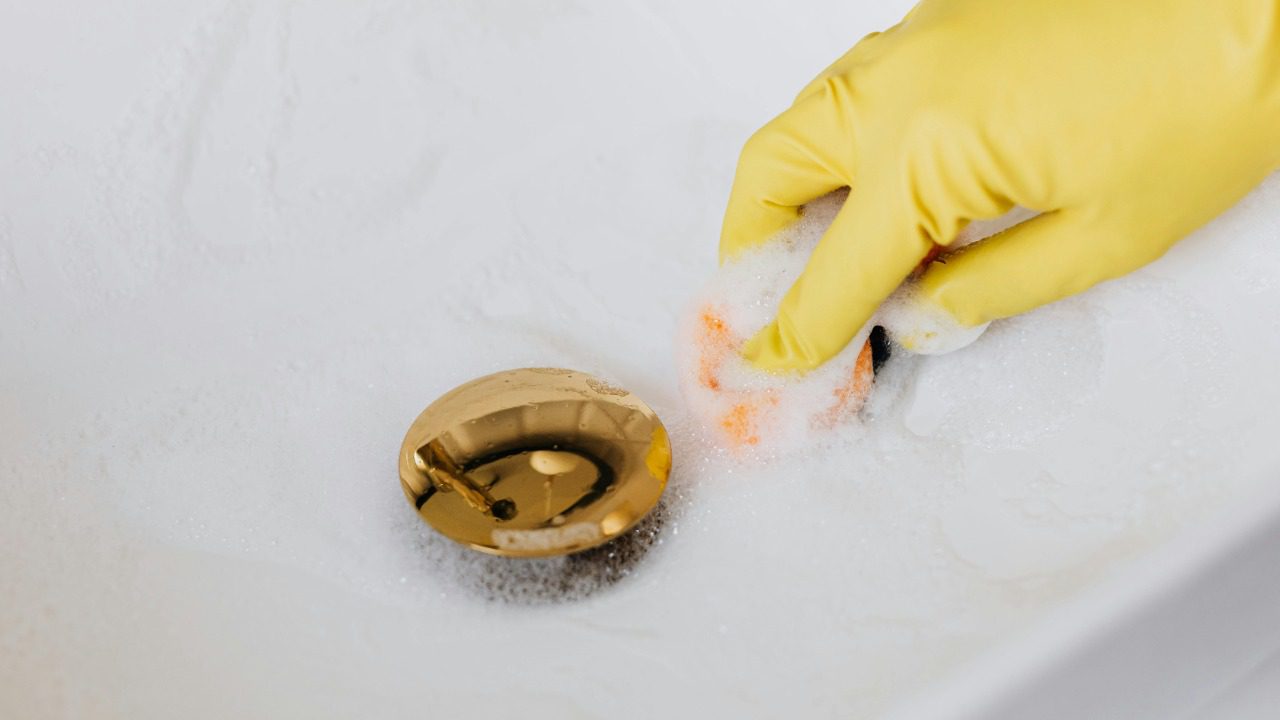
A clogged drain can lead to water overflow and potential water damage. Luckily, this is a repair you can often handle without calling the plumber. First, try using a plunger. If that doesn’t work, a plumber’s snake or hand auger can be used to reach deeper into the drain. For persistent clogs, a mixture of vinegar and baking soda can help break down the clog. Remember, it’s important to avoid overusing chemical drain cleaners as they can damage your pipes over time.
3. Patching Drywall


l is a useful skill to have for cosmetic home repairs. Whether it’s a doorknob impact or moving furniture mishap, holes in your walls don’t have to be a permanent eyesore. You’ll need some tools for this, including a drywall patch, joint compound, and a putty knife. Apply the patch over the hole, then cover it with joint compound using your putty knife. Allow it to dry, then sand smooth and paint to match your wall. The result is a virtually undetectable repair!
4. Replacing a Light Switch

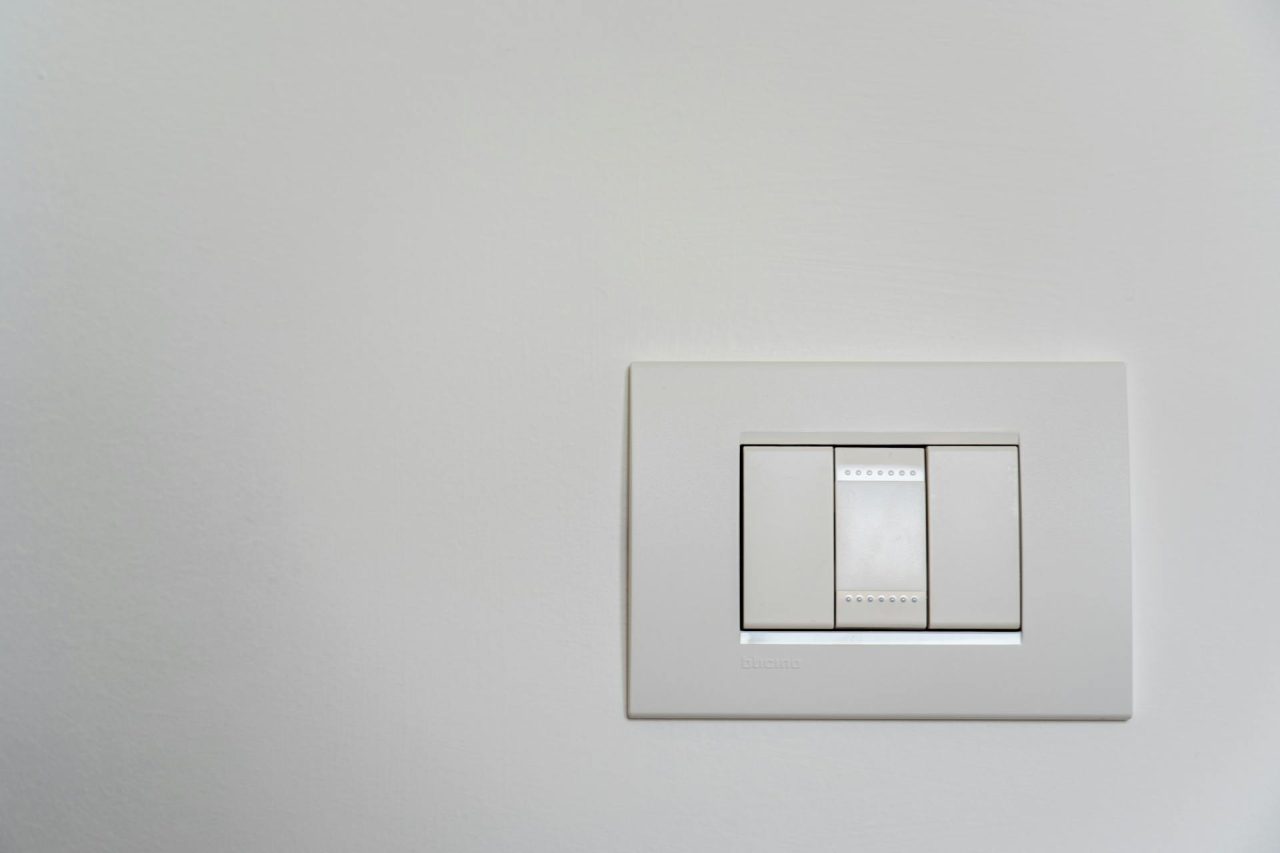
A faulty light switch can be a safety hazard. Replacing it is a relatively simple task that requires a little bit of electrical knowledge. Before starting, always turn off the power at the breaker for safety. Remove the switch plate and unscrew the switch from the electrical box. Disconnect the wires from the old switch and then connect them to the new one. Screw the new switch back into the box and replace the cover plate. Just like that, you’ve upgraded your home’s safety!
5. Fixing a Running Toilet

A running toilet can waste a lot of water, leading to higher utility bills. However, it’s often a simple fix. The most common cause is a faulty flapper, which can be replaced easily. If that’s not the issue, it might be the float height. Adjust the float to lower the water level. If the toilet continues running, you may need to replace the fill valve.
6. Replacing a Door Handle


A broken door handle can be a major inconvenience. Replacing it is a quick and easy task that requires only a screwdriver. Unscrew the old handle and remove it. Then, just screw the new handle in its place. Remember to ensure the locking mechanism is on the correct side of the door.
7. Sealing Windows
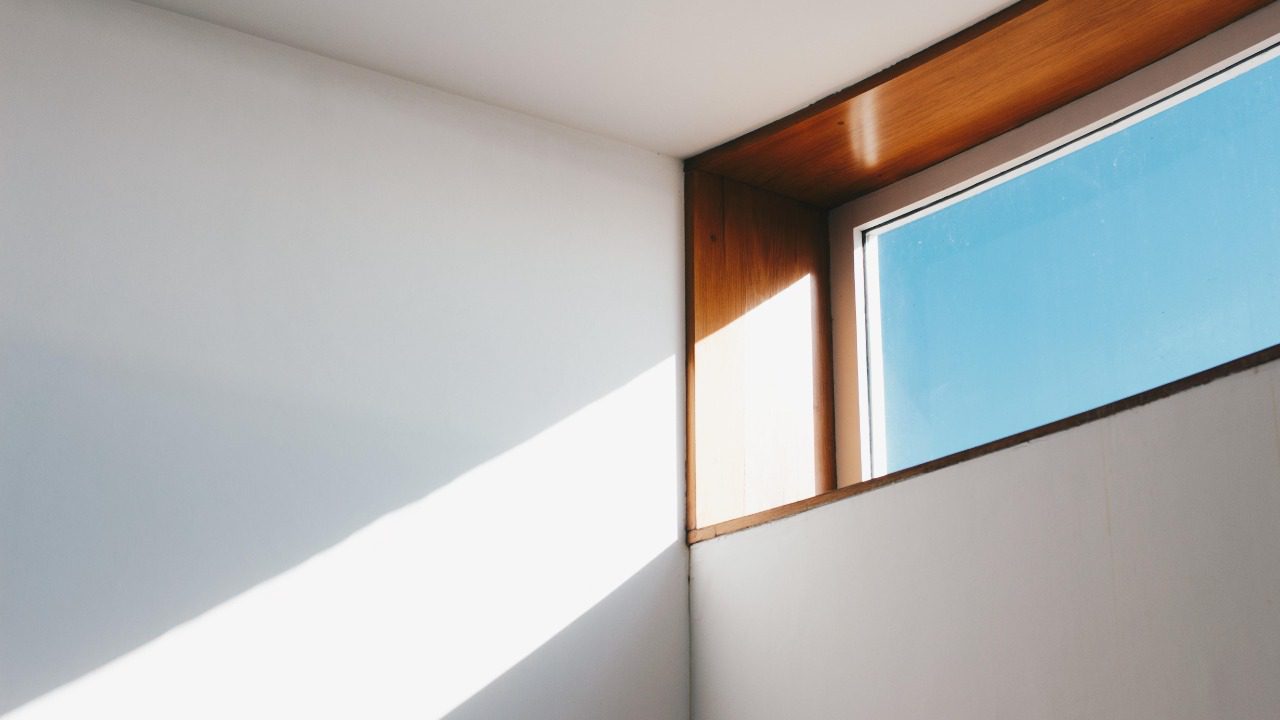
Sealing windows is important for energy efficiency and comfort, especially in colder months. You’ll need to remove old, cracked caulk first, then clean and dry the area. Apply new caulk around the window frame, smoothing it out for a clean finish. This repair can help you save on heating and cooling costs!
8. Repairing a Squeaky Door


A squeaky door can be surprisingly annoying. The good news is that fixing it is as easy as applying some lubricant. Simply apply a bit of WD-40 or similar product to the hinges. Open and close the door a few times to work in the lubricant. No more squeak!
9. Replacing a Showerhead

A worn-out showerhead can make showering less enjoyable. Replacing it is a straightforward task. Unscrew the old showerhead (you may need a wrench), then screw on the new one. Remember to apply some Teflon tape to the threads to prevent leaks.
10. Painting a Room

Painting a room is an easy way to refresh your space. All you need are some basic tools and a little patience. Start by prepping the room—move or cover furniture and cover the floor with drop cloths. Apply painter’s tape around windows, doors, and the ceiling. Then, apply the paint with a roller, starting from the top and working your way down.
11. Installing a Ceiling Fan

Installing a ceiling fan can be a bit more complex, but it’s a great skill to learn. It can help you save on energy costs and add comfort to your space. Always start by turning off the power at the breaker. Follow the manufacturer’s instructions to assemble the fan. Then, connect the wires and secure the fan to the ceiling. Remember: safety first. If you’re uncomfortable working with electricity, it’s best to call a professional. Learning to handle these common home repairs has saved me time and money. More importantly, it’s given me confidence in my ability to maintain my home. I hope these tips inspire you to try some DIY repairs—you might surprise yourself with what you can accomplish!