


Restoring vintage furniture can be an incredibly fulfilling project. There’s something deeply satisfying about taking a worn-out piece of history and bringing it back to life, especially when you do it with your own two hands. However, restoration also involves the risk of damaging the furniture. A wrong move or a hasty decision can easily strip a vintage piece of its charm and value. But fear not, with a little patience, knowledge, and careful handling, you can restore your vintage furniture without ruining it. Let’s explore some ways to do just that.
1. Understand the Value of Your Vintage Piece

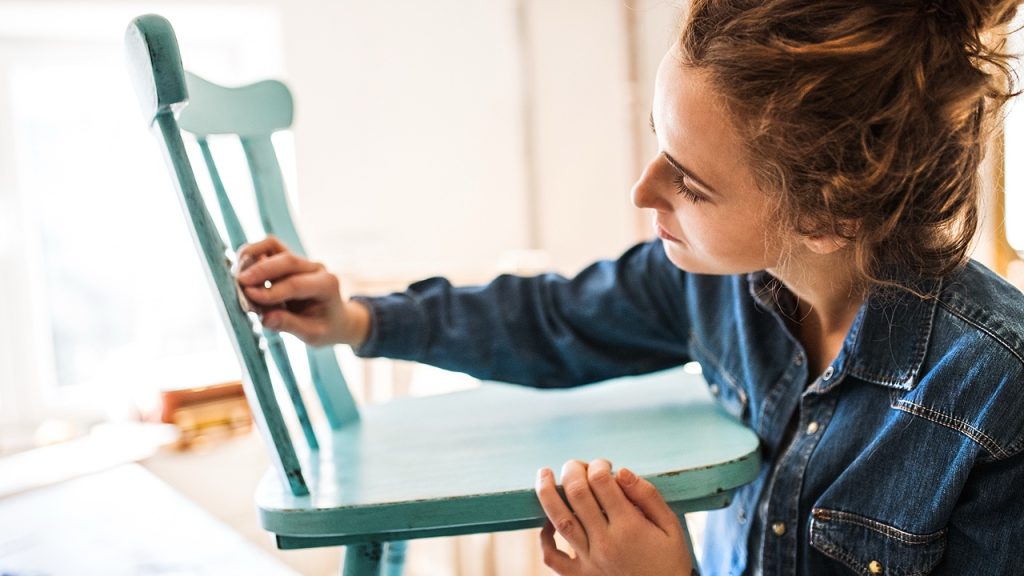
Urban Vintage / Unsplash
Before you begin, it’s important to understand the value of your vintage piece. This is not just about the monetary value, but also the historical and sentimental value it holds. If your piece is rare or historically significant, it may be best to consult with a professional before attempting any restoration. You can find out more about your piece by researching online, consulting with antique dealers, or reading books like “The Furniture Bible”.
2. Identify the Type of Wood and Finish

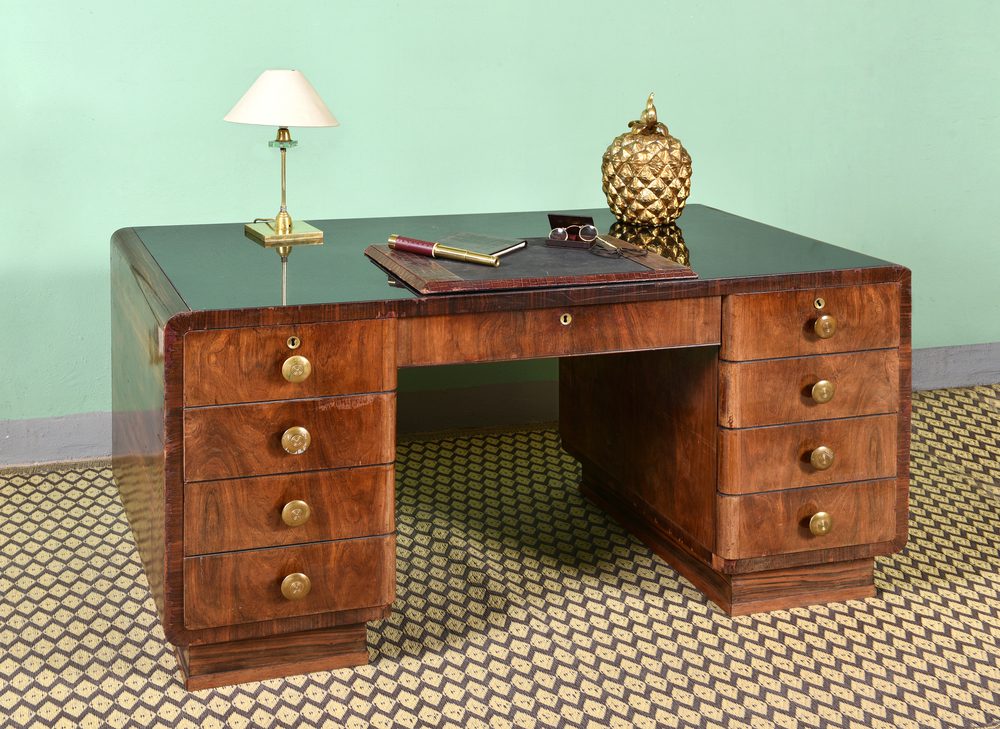
Next, identify the type of wood and finish used in your furniture. Different kinds of wood and finishes require different care and restoration methods. For instance, mahogany and walnut are often finished with shellac, while oak and pine are usually finished with varnish or lacquer. Understanding this will help you make informed decisions when it comes to cleaning, repairing, and refinishing your piece.
3. Clean the Furniture with Mild Soap Solution

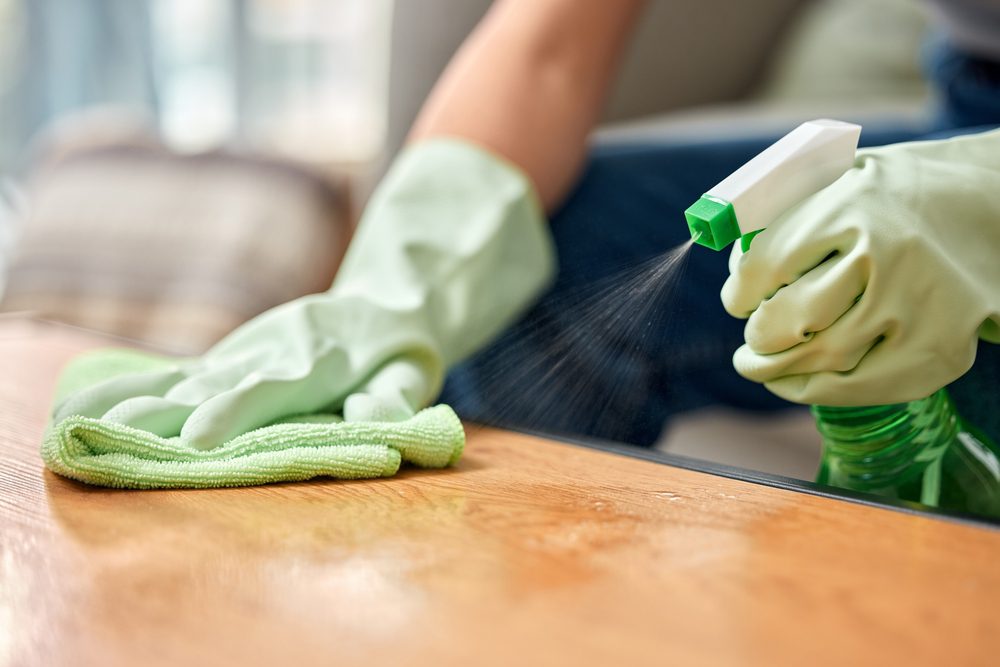
Cleaning is the first step in the restoration process. Use a mild soap solution to gently clean the surface and remove any grime or dust. Be careful not to soak the wood, as this can cause it to warp or crack. For stubborn stains, you can refer to this stain removal guide. Remember, always test any cleaning solution on a hidden area first to ensure it won’t damage the finish.
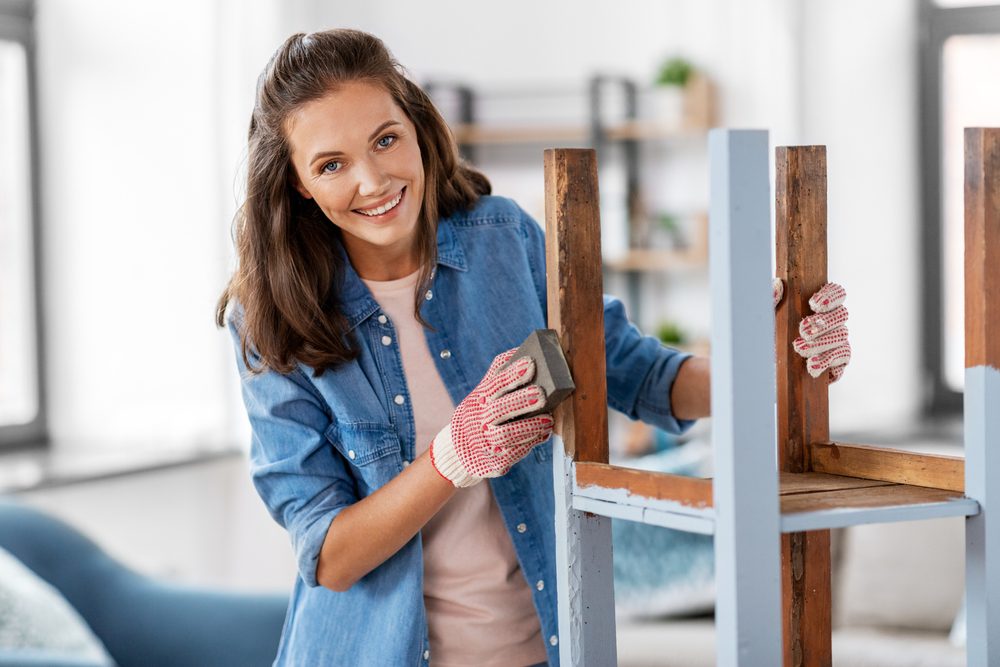
4. Use a Gentle Approach to Stripping Paint

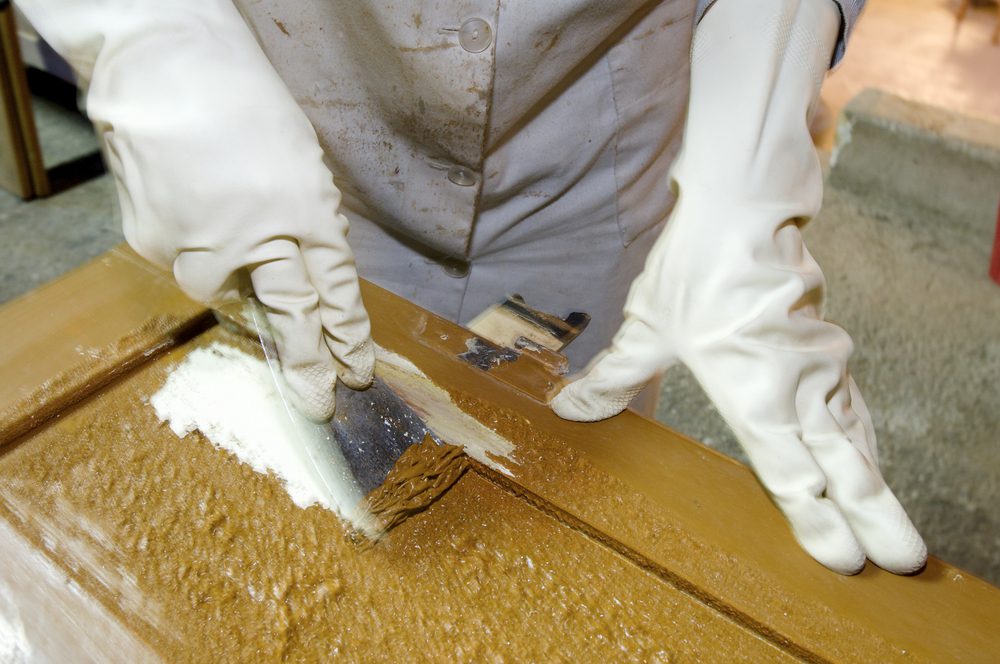
If your piece has been painted and you wish to remove the paint, do so gently. Use a paint stripper specifically designed for furniture, and follow the instructions carefully. Avoid using harsh chemicals or high heat, as these can damage the wood. Take your time, and remember, the goal is to reveal the beauty of the wood, not to rush the process.
5. Preserve the Original Patina

Patina, the sheen that develops on the surface of wood over time, adds character to vintage furniture. Whenever possible, try to preserve this original patina. Avoid aggressive sanding or stripping that can remove this layer. If the patina is damaged or missing in places, consider using a tinted wax or oil to mimic its appearance.
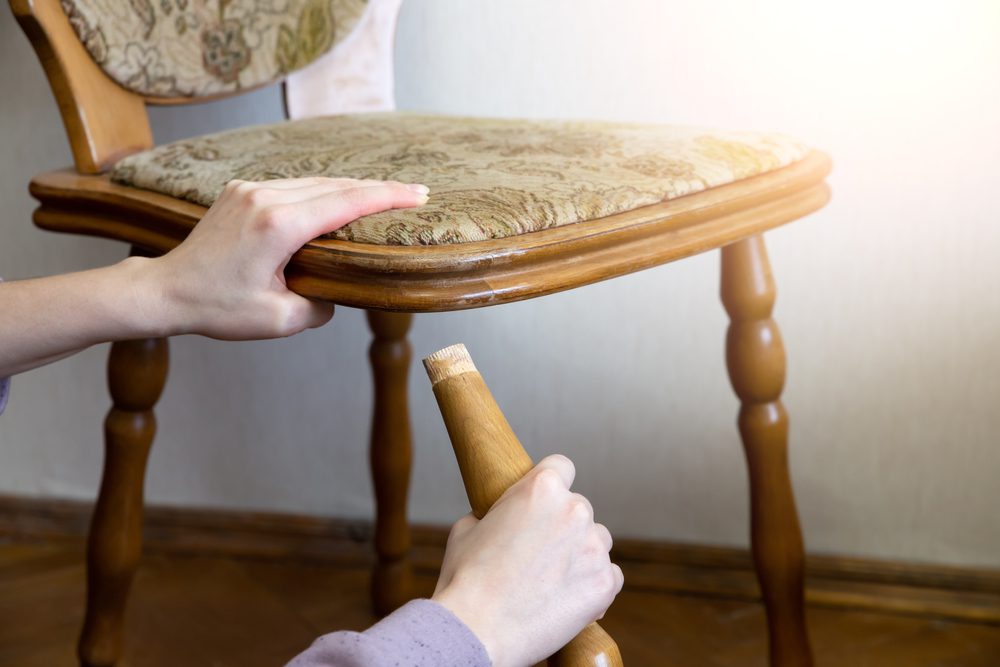
6. Repair Damages with Care
When repairing damages, remember the old adage: “less is more”. Instead of trying to make the piece look brand new, aim to preserve its character and history. Use wood glue for minor repairs, and clamp the pieces together until the glue dries. For more significant damages, you may need to replace parts of the wood. If this is the case, try to match the new wood to the old as closely as possible in terms of type, grain, and color.
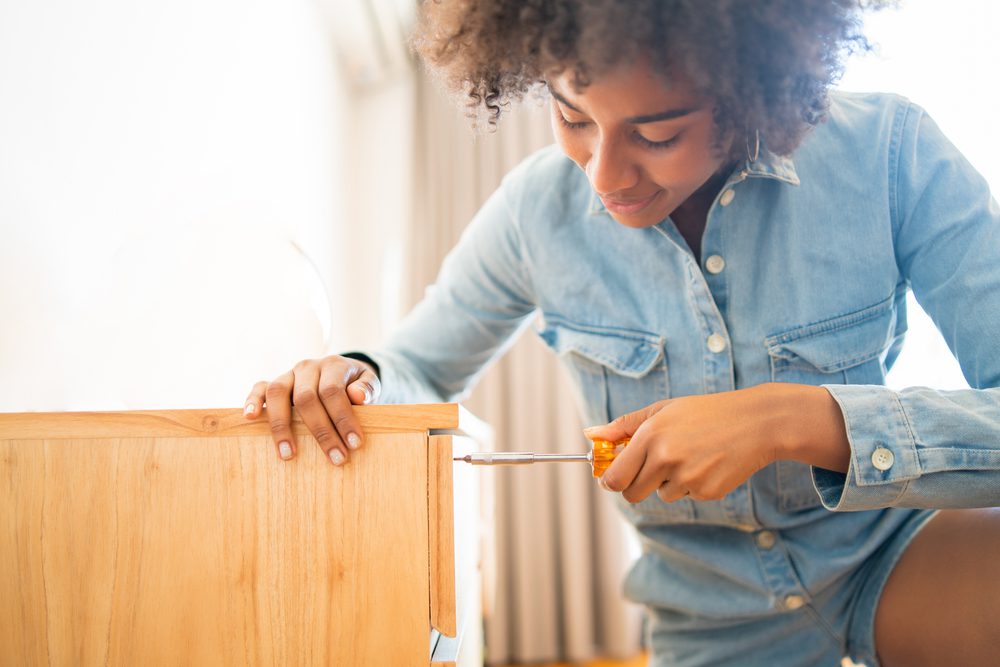
7. Re-glue Loose Joints and Veneers
Loose joints and veneers are common issues with vintage furniture. Re-glue these areas using a strong wood glue. Be sure to clean out any old glue before applying the new one. For veneers, use a veneer hammer to press it down and ensure a good bond. Remember to clamp the pieces together until the glue dries.
8. Avoid Over-Sanding and Keep the Texture
Sanding can be a useful tool in furniture restoration, but it should be used sparingly and with caution. Over-sanding can remove the patina and alter the texture of the wood, both of which contribute to the character of vintage furniture. Use a fine-grit sandpaper, and always sand in the direction of the wood grain. If you’re unsure, consult a guide like this one from Deeply Southern Home.
9. Use Matching Wood Fillers for Holes and Cracks
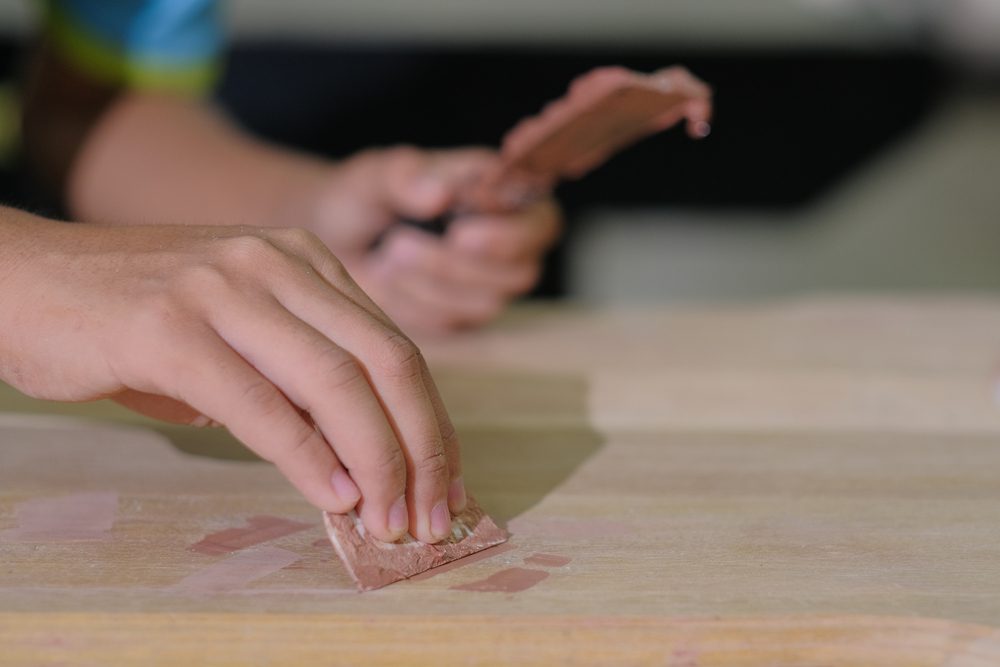
When dealing with holes and cracks, use a wood filler that matches the color of your furniture. This will provide a seamless repair that blends in with the rest of the piece. Make sure to overfill the hole or crack slightly, as the filler will shrink as it dries. Once it’s dry, sand it smooth.
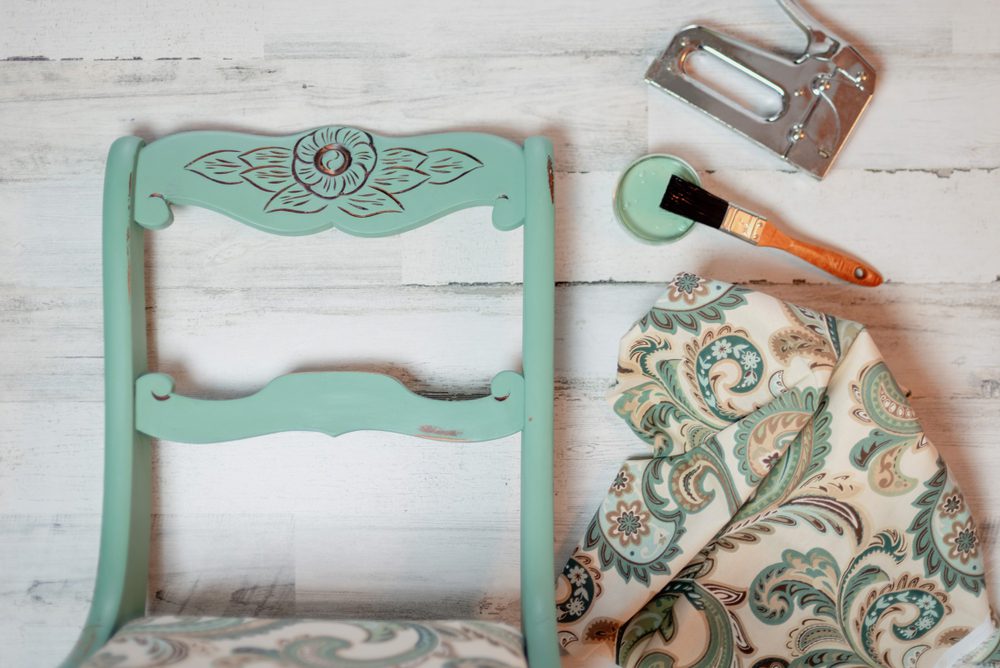
10. Choose the Right Kind of Paint or Finish
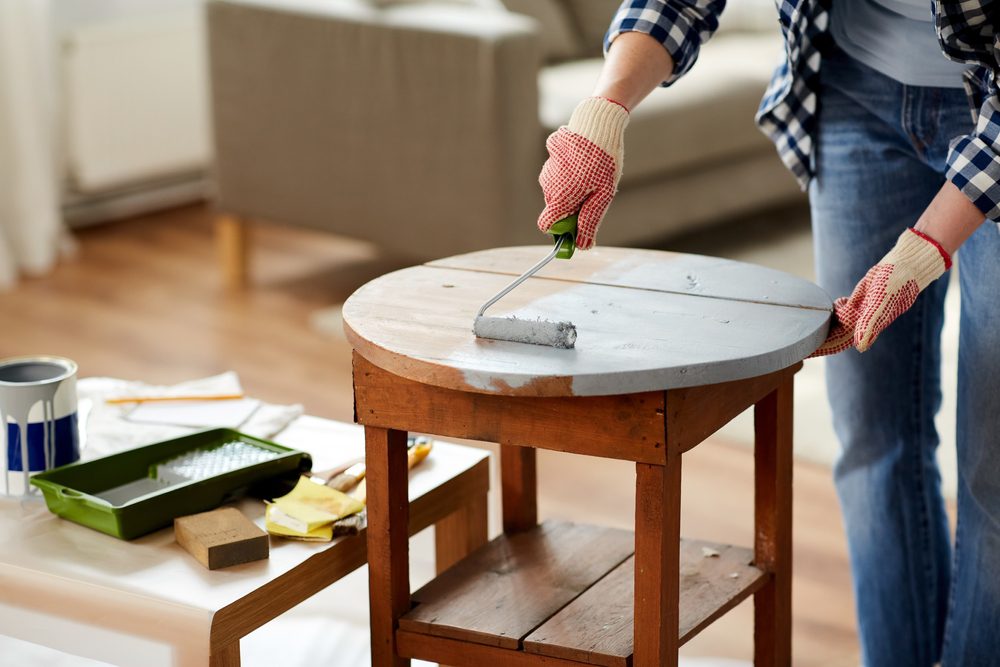
Choosing the right kind of paint or finish is crucial in maintaining the vintage look of your furniture. If you’re repainting, choose a color that complements the age and style of the piece. If you’re refinishing, consider using the same type of finish that was originally used. For example, shellac and lacquer were commonly used on vintage furniture and can give your piece a genuine, period-appropriate look. Check out this guide on how to clean lacquer furniture for more tips.
11. Upholster with Suitable Fabric and Padding

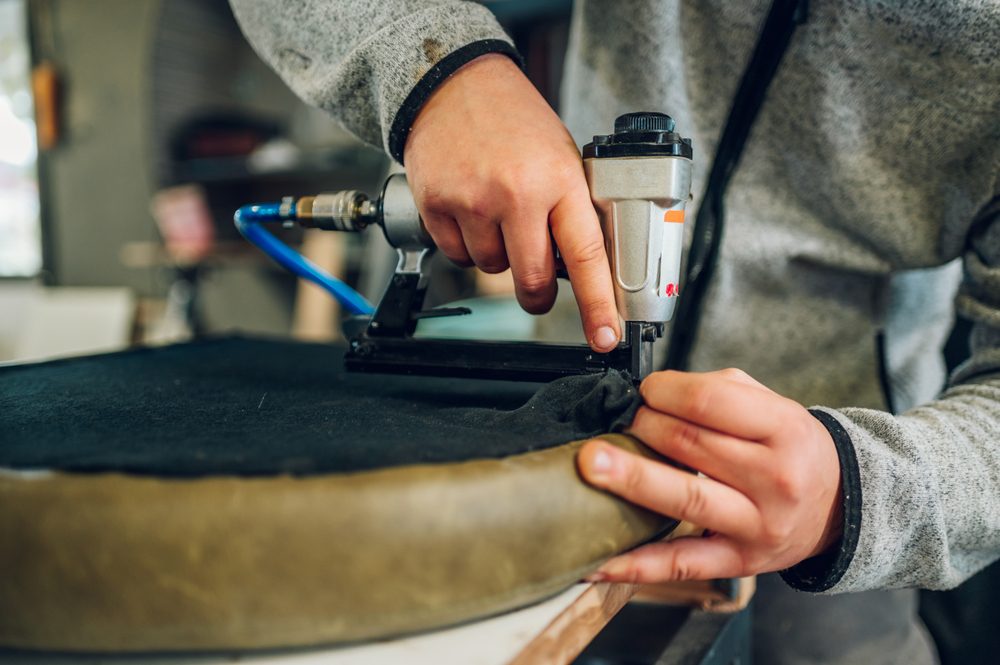
If your furniture has an upholstered seat or back, consider replacing the fabric and padding. Choose a fabric that’s suitable for the age and style of the piece. If the original padding is still in good condition, you may be able to reuse it. However, if it’s worn out or damaged, it’s best to replace it with new padding.
12. Maintain the Restored Furniture Properly
Once your furniture is restored, it’s important to maintain it properly to preserve its beauty and value. Regularly dust and clean the furniture using a soft cloth and mild soap solution. Avoid placing it in direct sunlight or near heat sources, as this can cause the wood to fade and crack. For more tips on maintaining vintage furniture, check out this Reddit thread.