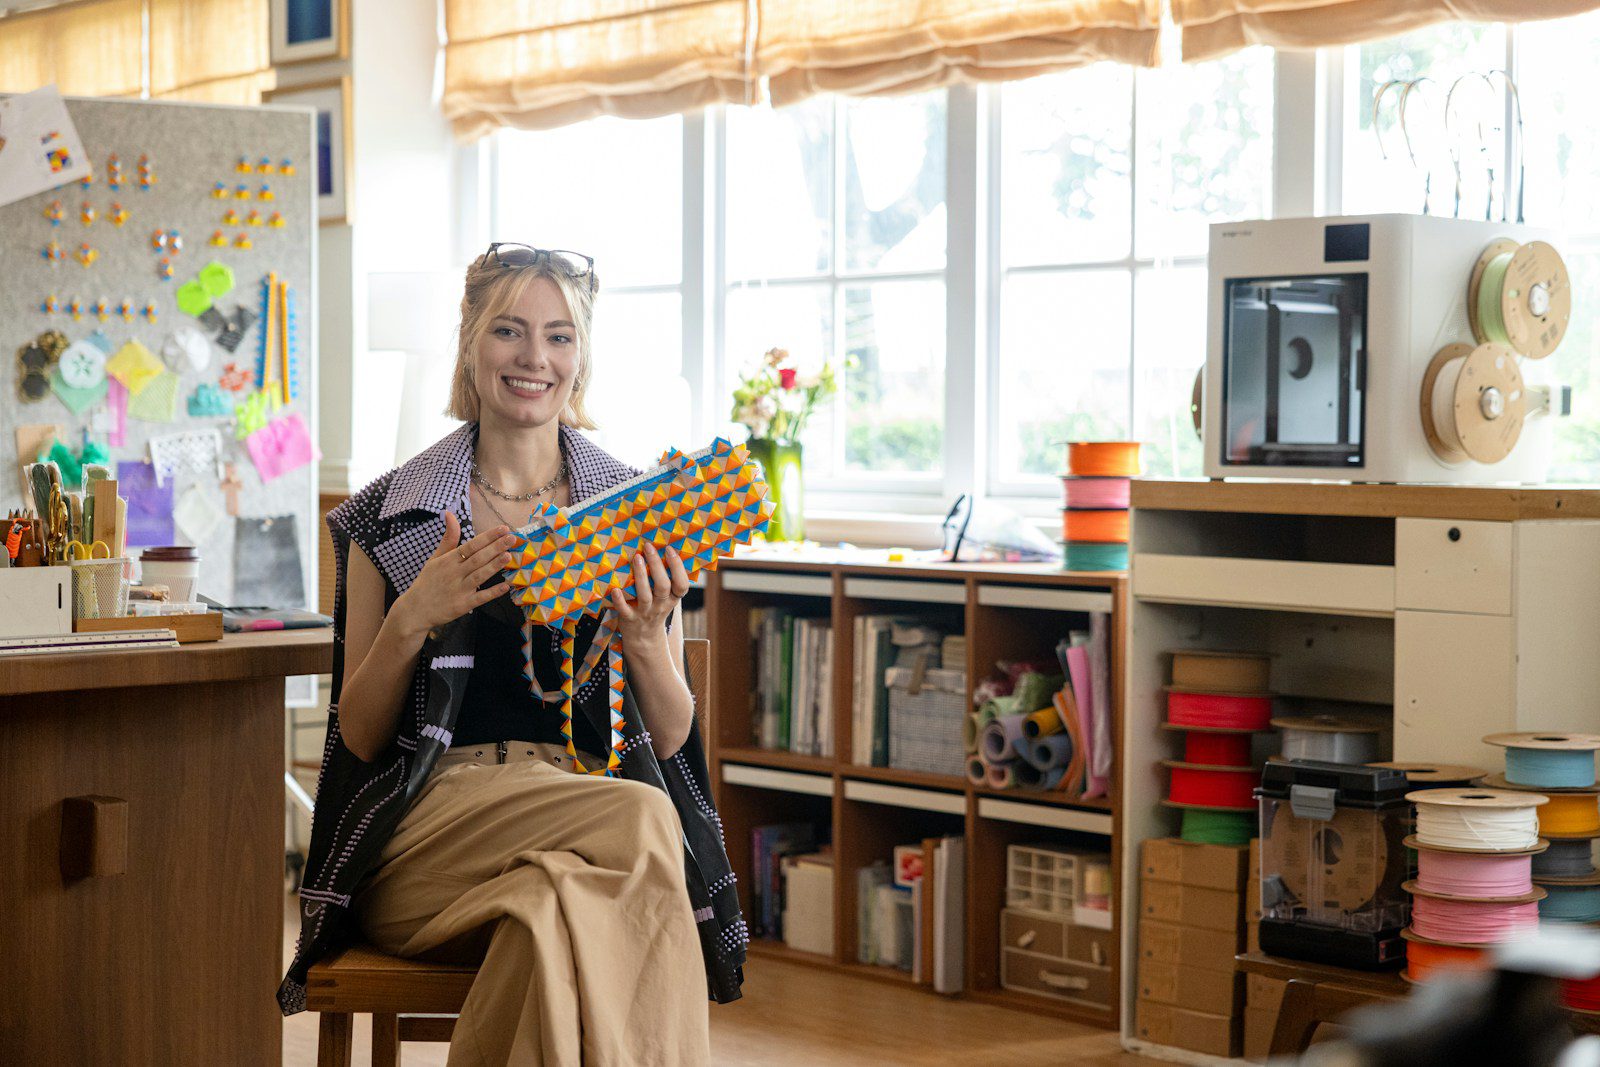
Craft rooms are a special kind of clutter zone because the accumulation feels productive even when it isn’t. Every new project idea comes with a trip to the craft store, but the follow-through doesn’t always keep pace, and before long the supplies for ten different hobbies are competing for the same shelf space.
Here are nine craft room categories worth a genuinely honest look.
Fabric Bought for a Project You Never Started
A stack of fabric purchased with a specific project in mind, only for the project to never actually begin, is one of the most common craft room patterns. If it’s been sitting untouched for over a year and you can’t remember the original plan, consider donating it to a school art program or a local maker space.
Sort before you donate. Unfold each piece, measure it, and pin a note to it with the yardage and fiber if you know it. Pieces of a yard or more are useful to almost any sewing group. Smaller cuts suit quilters, and scraps can go to anyone who makes stuffed toys or rag rugs. Check for fade lines along the folds and for a musty smell.
Keep it out of the trash if it is usable. The Environmental Protection Agency estimates that landfills received 11.3 million tons of textiles in 2018. From now on, buy fabric only when the pattern is chosen and a start date is on the calendar.
Half-Finished Projects You’ve Lost Interest In
Every crafter has at least one project that got abandoned partway through once the initial excitement faded. Give yourself permission to either recommit to finishing it with a specific deadline, or to disassemble it and reclaim the materials and space it’s currently occupying.
Lay every unfinished project out on a table at once so you can see the real number. For each one, ask what stopped you. A missing supply or a confusing step can be fixed in an afternoon. If you simply stopped liking the result, more time will not change that.
Pick no more than two to finish and write a date on a sticky note for each. Everything else gets taken apart or given away. Unravel knitting and rewind the yarn, pull usable fabric and hardware, and save the pattern only if you would make it again.
A nearly finished piece can also go to someone who enjoys completing things. Sewing and quilting groups often take orphaned blocks and partly made quilts.
Duplicate Craft Tools
Multiple pairs of scissors, several glue guns, and more than one set of the same paintbrushes tend to accumulate through gifts and impulse buys. Test what you have, keep your best-performing tools, and donate the extras to someone just starting a similar hobby.
Gather every tool of one type into a pile before you decide. Cut a scrap of fabric and a sheet of paper with each pair of scissors, and keep the pair that cuts cleanly to the tip. Plug in each glue gun to see which heats evenly without dripping. Check brushes for bristles that splay or shed.
Duplicates usually mean you could not find the first one, so the fix is a fixed home for each tool. Keep fabric scissors separate from paper scissors and label them, because cutting paper dulls a blade meant for cloth.
Art teachers, scout leaders and after-school programs can use working extras. Tools that are dull, rusted or broken should be thrown away, not passed along.
Dried-Out Paints and Markers
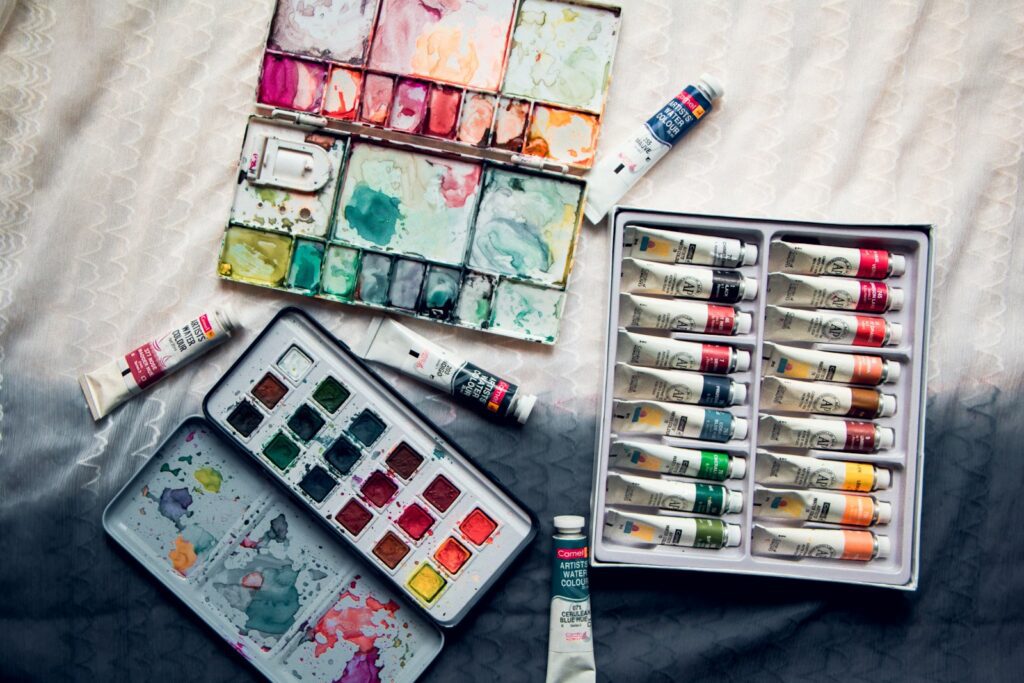
Craft paints and markers have a shelf life, and once they’ve fully dried out or lost their vibrancy, they’re not coming back no matter how much water or thinner you add. Do a quick test of your collection, and toss anything that no longer performs the way it should.
Test markers by drawing a long line on scrap paper. A streaky or pale line means the marker is done. Open each paint bottle and stir it. Paint that is slightly thick can still be used, but paint that is lumpy, rubbery, separated beyond mixing or sour-smelling should go.
While you sort, read the labels. Under federal rules, art materials are reviewed for long-term health hazards and carry a statement that they conform to ASTM D-4236, according to the Consumer Product Safety Commission. Set aside anything with a hazard warning and ask your local waste service how to dispose of it.
Store what you keep with lids tight and bottles upright, away from heat and freezing temperatures.
Beads, Buttons, and Small Embellishments With No Plan
Small craft supplies bought in bulk for a specific project often outlive that project by years, ending up as a jumbled collection with no clear future use. Consolidate what’s left into clearly labeled containers, and consider passing along excess to a local school or community craft program.
Pour everything onto a tray with a rim so nothing rolls away, then sort by type first and color second. Divided boxes with fixed compartments work better than a pile of small bags, because you can see what you own in one glance.
Set a limit as you go, such as one box for beads and one jar for buttons. When the container is full, the extras leave. Broken strands, single earring parts and tarnished findings can be thrown out.
Mixed lots are still welcome in many classrooms and camp programs, which use them for collage and sorting activities. Call ahead and ask what they need, since small parts are not suitable for the youngest children.
Craft Magazines and Pattern Books You’ve Outgrown
Old issues of craft magazines or pattern books for techniques you no longer practice can take up significant shelf space. If you haven’t referenced a particular book or magazine in years, and the patterns are available online anyway, it’s a reasonable one to let go of.
Go through magazines quickly with a pair of scissors or a phone camera. Tear out or photograph the two or three patterns you would really make, and recycle the rest of the issue. Put saved pages in one binder with sheet protectors, sorted by craft.
Books deserve a harder look. Keep the reference titles you open for technique, such as a stitch dictionary or a fitting guide. Let go of single-project books, anything for a craft you have quit, and duplicates.
Sewing patterns need a check before donating. Make sure all the tissue pieces and the instruction sheet are in the envelope, and write “complete” on the front. Guilds, libraries and thrift stores take pattern books in good condition.
Yarn From a Knitting Phase That Passed
A stash of yarn bought during an enthusiastic knitting or crochet phase can sit untouched once interest shifts elsewhere. If you’re not actively working through your stash, consider donating unused skeins to a fiber arts group or senior center that often welcomes yarn donations.
Inspect it first. Look for the fine webbing, grit and broken strands that signal moths, and sniff for mustiness or smoke. Damaged or smelly yarn should be thrown away, not donated, because pests spread to the next person’s supply. Group what is left by weight and fiber, keep the paper bands on, and bag partial skeins of the same color together.
If you still knit or crochet a little, small charity projects use up leftovers quickly. Warm Up America asks volunteers for 7-by-9-inch knitted or crocheted sections, which it joins into blankets for people in need.
Keep only the yarn that fits in one bin and has a project attached to it.
Sample Kits You Bought but Never Opened
Craft kits purchased on a whim, still sealed in their original packaging, are an easy category to reassess. If it’s been sitting unopened for a long stretch, it’s fair to admit the project isn’t happening and pass the kit along to someone who will actually use it.
Sealed kits are the easiest craft supplies to rehome because nothing is missing. They make good gifts, they are welcome at school fundraisers and library craft programs, and unopened ones can be sold in local buy-and-sell groups. Leave the packaging intact.
Check the contents through the box before you give one away. Kits with paint pots, glue or clay can dry out inside the seal after a few years, and a kit with hardened supplies is a disappointment to whoever opens it.
If one kit still tempts you, put a date on it. Make it by then or let it go. To stop the pile from growing again, finish one kit before buying the next.
Storage Containers That Have Outgrown Their Contents
Sometimes the organizing system itself becomes clutter — bins and caddies bought for a specific supply that’s since been reduced or reorganized elsewhere. Reassess your storage setup periodically, and don’t be afraid to consolidate containers once their original contents have shrunk.
Do this step last, after every other category has been thinned. Empty and half-empty containers will turn up all over the room. Collect them in one spot, then match the remaining supplies to the smallest container that holds each group comfortably.
Favor clear bins with lids that stack, and keep sizes consistent so shelves stay tidy. Let go of cracked bins, lids without bases, specialty organizers built for a craft you have dropped, and anything too deep to see into.
Do not keep spare containers “just in case.” A shelf of empty bins tends to get filled with new purchases. Teachers and daycare centers are glad to have sturdy bins, and nested sets in good condition are easy to donate.