

Important things I always do before painting a room

Painting a room can be a fun, transformative project, but it can also be a daunting task if you’re not prepared. As with any home improvement task, the outcome is largely determined by the preparation. A well-prepared painting project can turn a dull room into a bright, inviting space. To help you make the most of your next painting project, here are 11 things I always do before I open a can of paint.
1. Plan Your Approach


Before you dive into painting, it’s important to plan your approach. Start by deciding on the color scheme and paint type. Envision how the new color will harmonize with your furniture, flooring, and overall room design.
Measure your room to determine how much paint you need to avoid multiple trips to the store. Most paint cans indicate the approximate coverage, but it’s better to slightly overestimate to account for any unexpected situations. Remember, it’s better to have a little leftover paint for touch-ups rather than running out mid-project.
2. Clear the Room
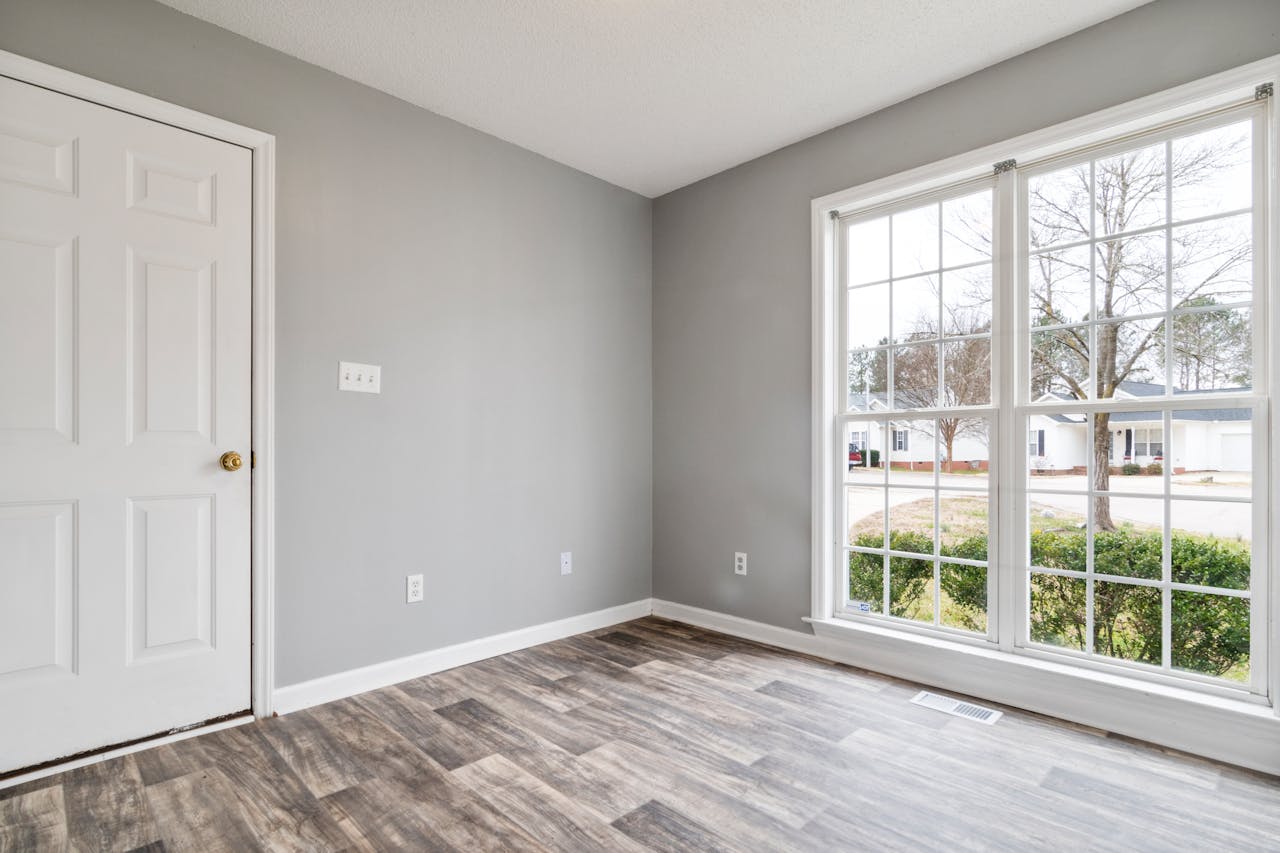
Painting can be messy, and you don’t want your furniture or floor to be splattered with paint. Therefore, it’s essential to either remove all furniture from the room or move it to the center and cover it with a drop cloth.
Also, make sure to remove any wall decor, outlet covers, and light switch plates. Not only will this keep your items paint-free, but it will also make it easier for you to paint without interruptions.
3. Clean the Walls


This step is often overlooked, but it’s crucial for a smooth, long-lasting paint job. Over time, dust, dirt, and grease can accumulate on your walls, which can interfere with paint adhesion.
Use a mild detergent mixed with water and a sponge to wipe down the walls. Make sure to rinse with clean water to remove any soap residue and let it dry completely before you start painting.
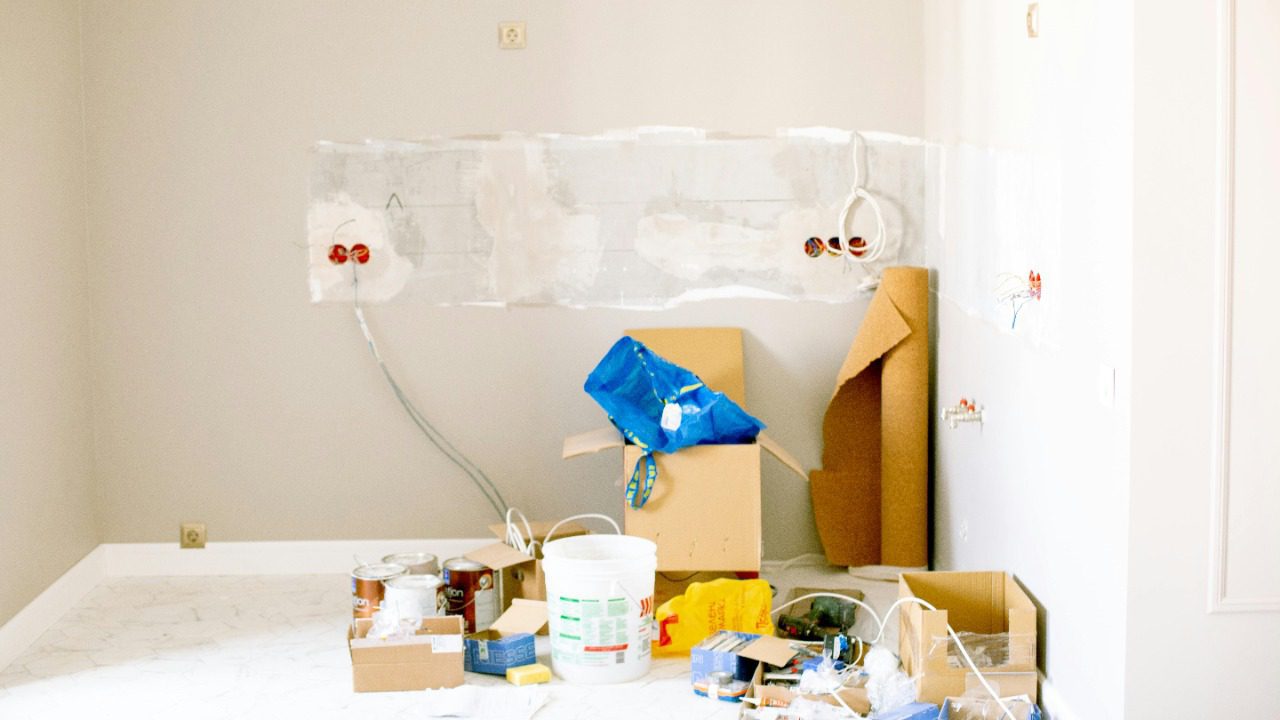
4. Repair Wall Imperfections


Before you start painting, take the time to inspect your walls for any cracks, holes, or dents. These imperfections can become more noticeable after painting, so it’s best to fix them beforehand.
You can use a lightweight spackling compound and a putty knife to fill in small holes or cracks. For larger dents or damage, you may need to use a wall repair patch. Once the repairs are dry, sand the area smooth and wipe away any dust.
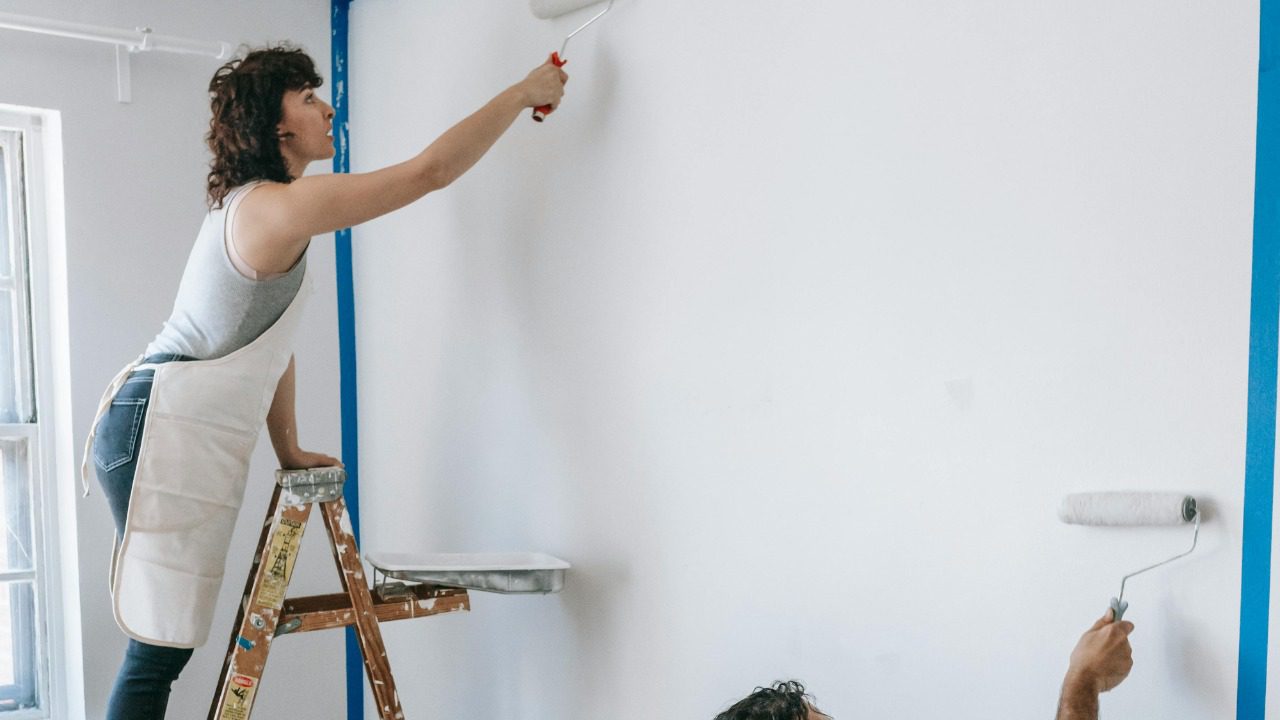
5. Tape Off Areas
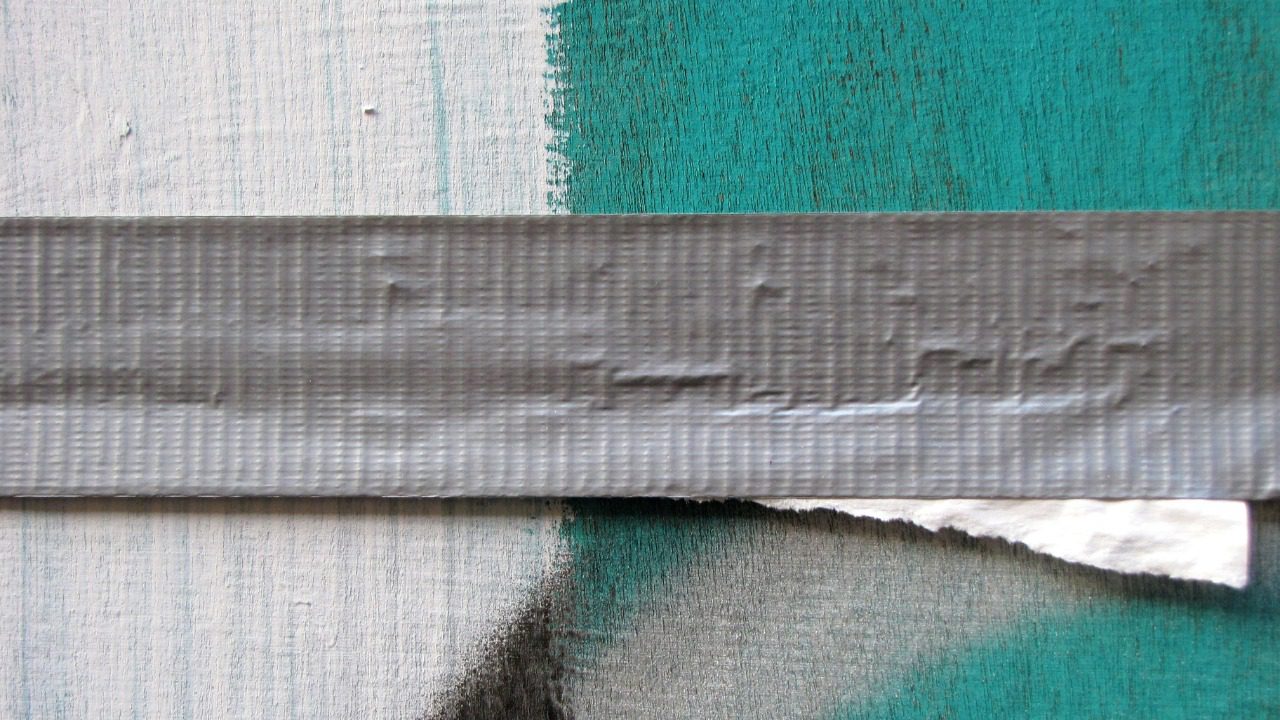
The secret to a professional-looking paint job is clean, sharp lines. This can be achieved by using painter’s tape to tape off baseboards, trim, and any other areas you don’t want the paint to touch.
Press the tape down firmly to ensure a good seal and prevent the paint from seeping underneath. Remember, it’s easier to spend a little extra time taping than to try to remove paint from unwanted areas later on.
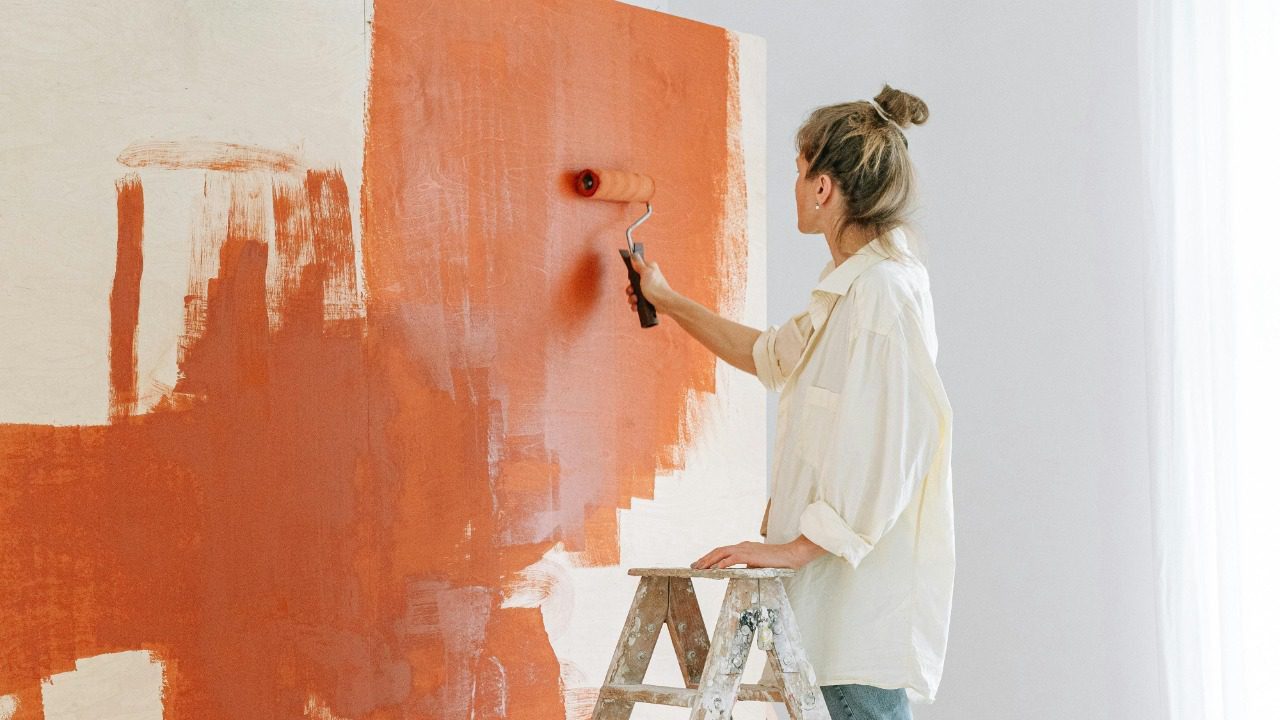
6. Apply Primer

Primer is an essential step in painting, especially if you’re drastically changing the wall color or painting over a dark shade. It creates a uniform, neutral surface that allows the paint to adhere better and helps bring out the true color.
It’s best to apply one coat of primer and let it dry completely before painting. Some paints come with a built-in primer, which can save you time and money.
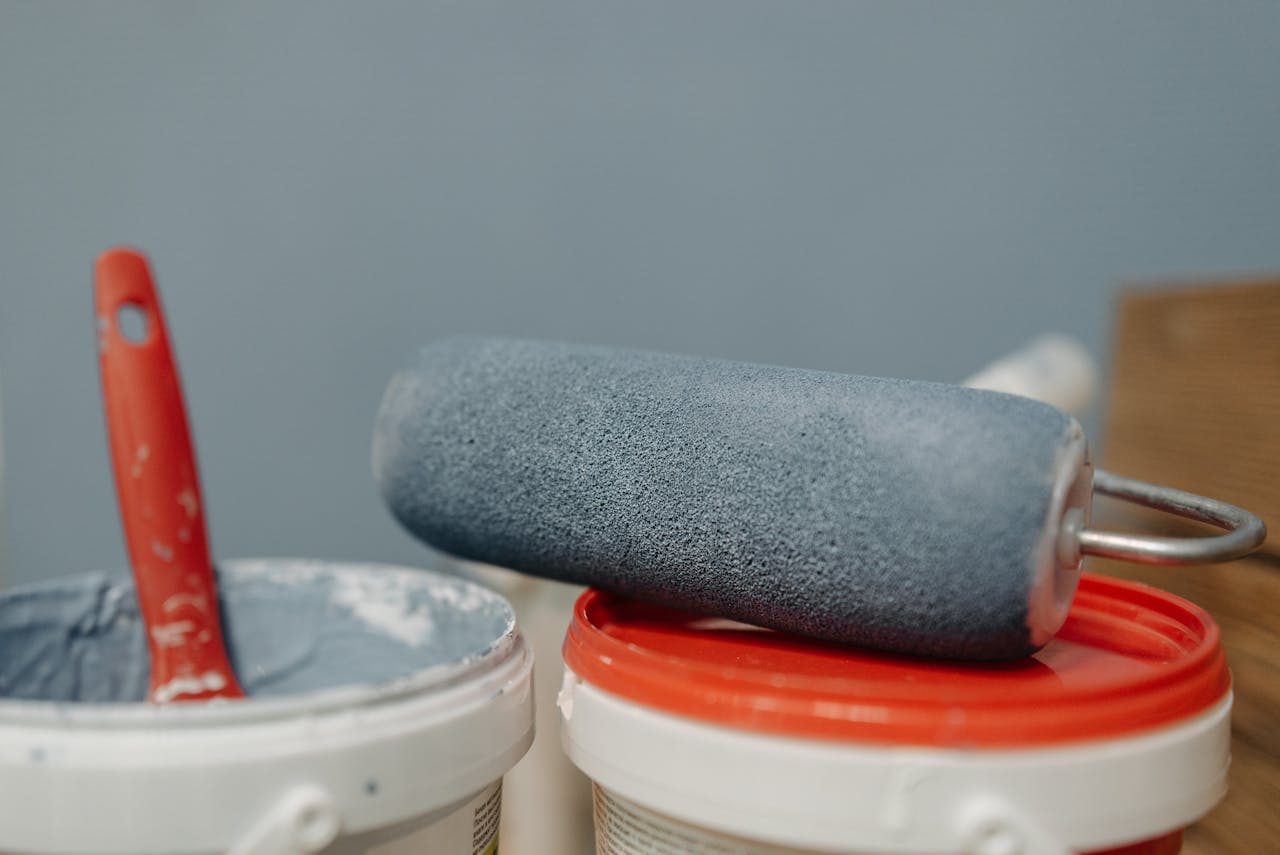
7. Organize Your Tools
Before you start painting, make sure all your tools are within reach. You’ll need paint brushes for cutting in around the edges and a roller for the larger wall areas. Also, keep a paint tray, stir sticks, and a ladder (if necessary) nearby.
Having your tools organized and ready to go will make the painting process more efficient and enjoyable.
8. Protect Your Floors
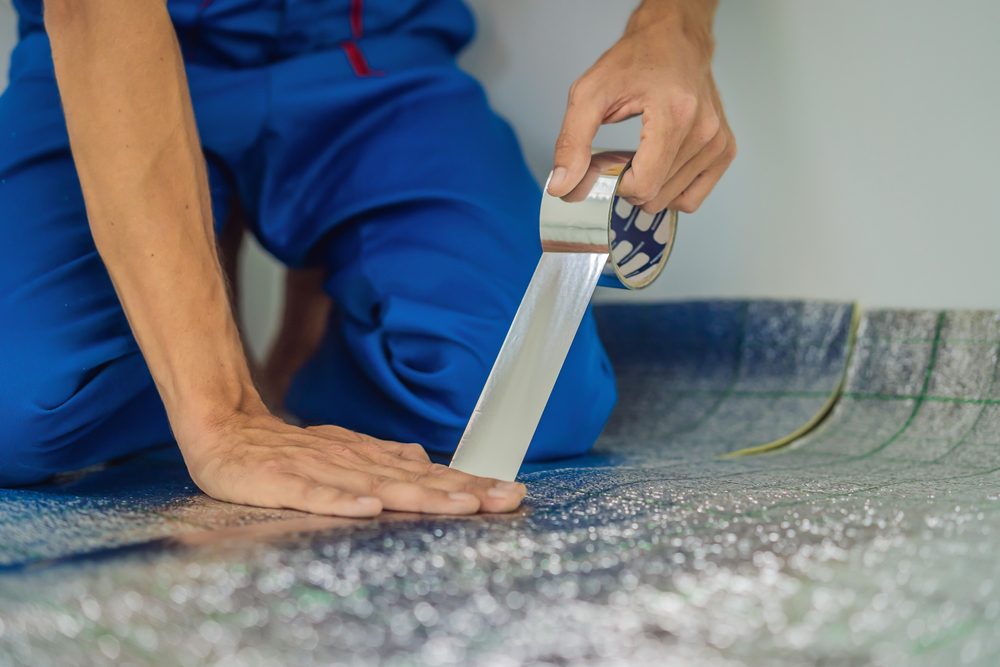
Despite your best efforts, paint drips and spills can happen. To protect your floors, lay down drop cloths or plastic sheeting. Make sure it covers the entire floor area and a little bit more.
For added protection, you can tape the edges of the drop cloth to the baseboards to prevent any paint from seeping underneath.
9. Ventilate the Room

Paint can emit strong fumes, which can be harmful if inhaled in large amounts. Therefore, it’s important to keep the room well-ventilated.
Open windows and doors to allow fresh air in. If the room doesn’t have adequate ventilation, consider using a fan to circulate the air.
10. Dress Appropriately
Painting can be a messy job, so make sure to wear clothes that you don’t mind getting dirty. Avoid loose clothing that could get caught on something or brush against the wet paint.
Also, consider wearing a hat or a headband to keep hair out of your face and away from the paint.
11. Take Breaks

Painting can be physically demanding, especially if you’re painting a large room. Remember to take breaks to rest and stretch your muscles.
Also, make sure to drink plenty of water and eat snacks to keep your energy levels up. Painting should be a fun and rewarding experience, not a grueling task.