

You lose less food and save money when you make what’s in your pantry visible and accessible. Use straightforward systems—clear bins, shelf risers, lazy Susans, and labeled zones—to stop cans and snacks from hiding in the back and make grabbing ingredients automatic.
Set up zones and visibility so you can see every item at a glance and use older items first. That simple change prevents duplicates, reduces waste, and speeds up meal prep.
You’ll find practical storage solutions and easy routines that fit any pantry size, plus quick maintenance tips to keep order long term.

Essential Storage Solutions for a Functional Pantry
Pick storage that matches how you shop and cook: easy visibility, quick access, and systems that prevent items from getting buried. Focus on containers and layouts that let you see labels, rotate older products forward, and pull items out without dislodging others.
Choosing the Right Bins, Containers, and Organizers
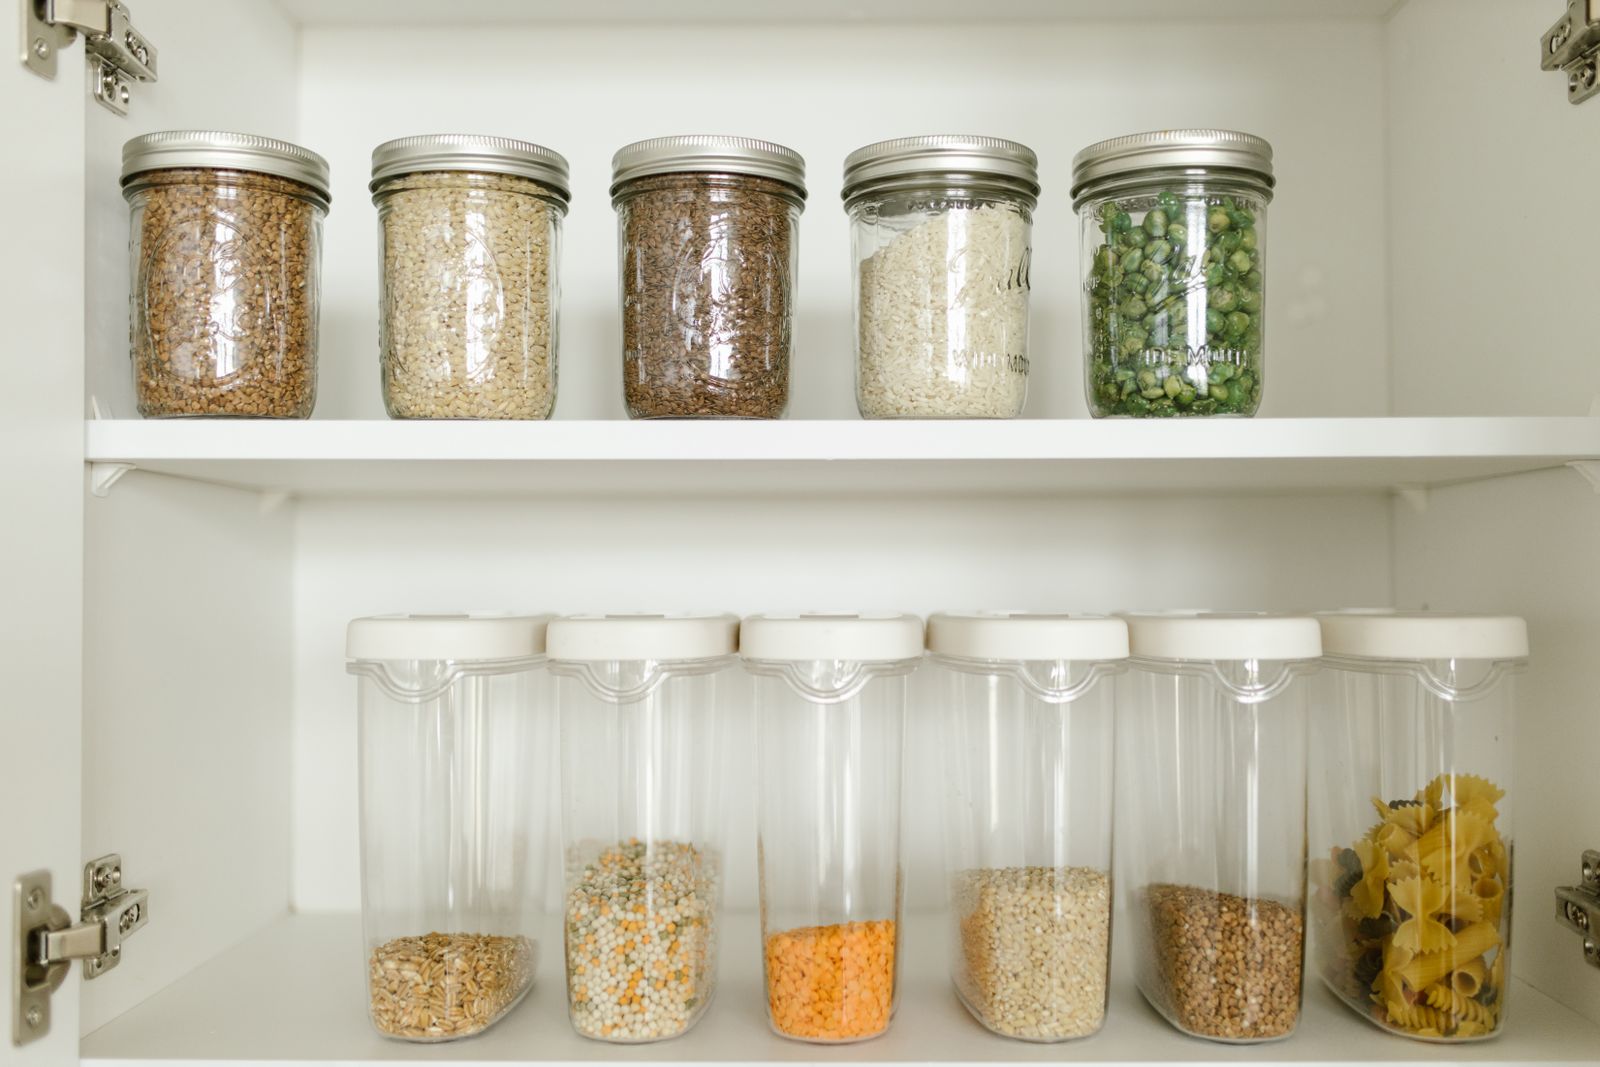
Use clear bins for loose, short-shelf items so you can spot snacks and baking supplies at a glance. Choose airtight containers for grains, flour, and nuts to keep pests out and extend shelf life; use uniform sizes to stack and save space. Label lids or the front of containers with product name and open date.
Keep a small can organizer for soda and canned goods to avoid toppled stacks. For bulk food storage, use tall, narrow dispensers or square bins that fit shelf depth; they take up less wasted space than round jars. Reserve decorative wicker or woven baskets for large, infrequently used items so the pantry looks tidy while hiding clutter.
Maximizing Shelf Space With Stackable and Tiered Systems
Add shelf risers and tiered shelf organizers to make upper- and back-shelf items visible and reachable. Use stackable bins that fit your shelf width to create layers without losing sight lines. Place a lazy Susan or turntable on deep shelves for oils, sauces, and jars—spin to reach back items without moving everything.
Install built-in shelving or adjustable pantry shelving if possible so you can tailor shelf heights to cereal boxes, spice jars, or bulk containers. Wire baskets work well for produce and allow airflow; under-shelf baskets increase capacity without drilling. Keep heavier items on lower tiers and light, frequently used goods at eye level.
Smart Use of Doors, Drawers, and Vertical Storage
Mount an over-the-door organizer for spices, snacks, or single-serve items to free shelf space. Use pull-out drawers or sliding bins for deep shelves so you can pull the whole row forward instead of reaching into the dark back. A shallow pantry cabinet with drawers transforms deep shelves into accessible layers.
Exploit vertical space with slim shelves along side walls and hanging baskets for onions or citrus. Over-shelf hooks or under-shelf baskets create zones for small packets and utensils. For appliances, place them on a wheeled pull-out or a low drawer so you can roll them forward when needed.
Effective Pantry Organization Strategies and Maintenance
Set up clear zones, use visible storage, and adopt a labeling routine so you can spot what you need at a glance and rotate items before they expire.
Establishing Zones and Grouping Similar Items
Group foods by use and frequency to prevent things from getting lost in the back. Create dedicated zones such as a baking zone (flours, sugars, extracts, baking soda) and a snacks zone (chips, granola bars, single-serve packs). Place everyday staples—canned goods, pasta, rice—at eye level for quick access. Use clear bins or labeled baskets to corral small items like spice packets or soup mixes so they stay together instead of scattering.
Reserve the highest shelf for overflow or long‑storage items and the lowest shelf for heavy jars and bulk containers. Keep breakfast items together near the cereal bowls or coffee maker to speed mornings. If you have a deep shelf, use a shallow clear bin to pull forward groups instead of crawling to the back.
Labeling and Visual Systems That Stick
Choose consistent, readable labels and keep them in the same spot on each container so your eye learns where to look. Use a label maker for shelf-edge tags and airtight canisters, and chalkboard labels for jars you update frequently. Affix labels to clear containers so contents and quantities are instantly visible.
Combine labels with visual order: arrange items by type and size, with like-shaped clear containers grouped so you can see empty space quickly. For quick inventory, keep a running list on a small clipboard or use a chalkboard mounted inside the pantry door. That visible list prevents duplicate purchases and helps you notice when supplies run low.
Reducing Food Waste and Keeping Inventory Fresh
Adopt a first-in, first-out habit: when restocking, move older items to the front and newer purchases to the back. Store opened packages in airtight canisters or resealable bags and date them with a marker or label to track freshness. For canned goods and jars, use a simple shelf rotation — label the front row “eat first” and place new cans behind.
Keep a clear bin for items near expiration and check it weekly when you make a meal plan. Use transparent containers so you can see portion levels and avoid overbuying. Finally, maintain a short monthly sweep: remove stale items, wipe shelves, and update labels to keep your organized pantry functioning and reduce waste over time.