

You probably think a stray moth or a lone beetle is no big deal, but small lapses in how you store and rotate food can quietly invite a full-blown pantry infestation. Keep sealed, rigid containers, clear visibility, and a regular inspection routine—those three changes stop most pantry pests before they spread.
Tiny gaps in lids, cardboard left intact, and bins stacked on the floor create perfect food, shelter, and breeding spots for kitchen pests. As you move through this post, you’ll learn which everyday habits actually encourage pests and which simple fixes protect your food and sanity.

Critical Pantry Habits That Encourage Pest Infestations
Small lapses in storage and cleaning let tiny pests become established quickly. The next points show the highest-risk habits and the specific pests or failure modes they encourage.
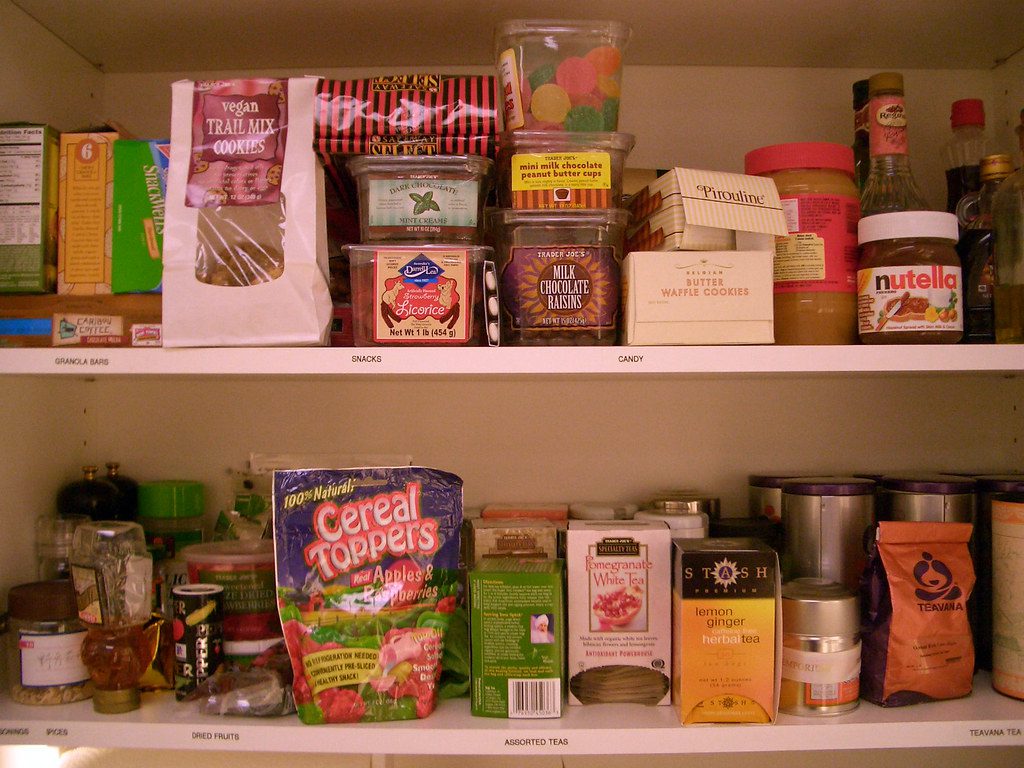
Storing Food in Non-Airtight or Damaged Containers
Keeping dry goods in loosely closed bags, thin plastic tubs, or containers with cracked lids invites pests. Pantry beetles such as the sawtoothed grain beetle (Oryzaephilus surinamensis) and merchant grain beetle can squeeze into weak seals. Indianmeal moth (Plodia interpunctella) adults lay eggs near exposed food; larvae then chew through thin packaging and contaminate the contents.
Use rigid, thick-walled airtight containers with gasketed lids for flour, rice, cereal, nuts, and pet food. Glass or hard plastic with screw or clamp lids prevents both external feeders (moths, moth larvae) and internal feeders (weevils that need whole kernels) from reaching food. Label containers with purchase date and transfer products immediately from paper or cardboard packaging that pests can penetrate.
If a container shows holes, chew marks, or fine dust (frass), assume infestation. Discard or freeze suspect items for several days to kill eggs and larvae before transferring to clean airtight storage.
Overlooking Infested or Expired Food Products
One missed box of cereal, an old bag of bird seed, or stale spice jar can sustain generations of stored product pests. Grain beetles, cigarette and drugstore beetles (Lasioderma serricorne, Stegobium paniceum), and flour beetles (Tribolium spp.) breed in crumbs and broken kernels you might not notice. These pests often begin in an already-infested product you brought home.
Inspect every new purchase for webbing, holes, live insects, larvae, or powdery residue. Place bulk or specialty goods in sealed containers immediately. Throw away open, expired, or visibly infested packages—do not simply tuck them deeper into the pantry. Keep a discard box near the pantry to avoid reintroducing contaminated items when cleaning.
When you find infestation, clean the shelf and adjacent products. Vacuum cracks and wipe with soapy water. Consider freezing suspect foods (4 days at 0°F / -18°C) or heat-treating sealed jars to eliminate eggs and larvae before reuse.
Neglecting Regular Cleaning and Inspection
Pests exploit crumbs, spilled flour, and forgotten pet food. Even tiny amounts of residue behind jars or in shelf seams feed beetle and moth larvae. Indianmeal moths leave silken webbing and frass; flour beetles cause grayish tints and off-odors. Regular cleaning removes their food sources and interrupts breeding.
Schedule a short pantry check every 2–4 weeks. Remove everything, vacuum the corners and shelf joints, and wipe surfaces with a mild detergent. Inspect jar lids, seals, and the undersides of shelves. Use clear, labeled containers so you can see changes early. Store pet food and bulk items off the floor to reduce access for rodents and beetles.
If you spot live insects, isolate affected items immediately and clean surrounding areas. Thorough cleaning combined with prompt disposal or treatment reduces the chance a few pantry bugs become a full infestation.
Improper Handling of Bulk and Long-Term Storage
Bulk purchases and long-term storage require extra safeguards. Large bags of grain, rice, or legumes often harbor hidden eggs or larvae. Granary and rice weevils (Sitophilus spp.), lesser grain borer (Rhyzopertha dominica), and bean weevils can develop inside whole kernels and emerge later if you store them untreated.
Rotate older stock forward (first in, first out) and portion bulk goods into smaller, airtight containers. For long-term storage, consider freezing new bulk purchases for 3–7 days to kill eggs and larvae before shelving. Use moisture- and pest-resistant containers for bins holding bulk seed, bird food, or home-milled flour.
Avoid storing bulk food directly on wooden shelves or cardboard; use plastic- or metal-lined bins instead. Label with purchase and freeze dates so you won’t forget what’s been treated, and inspect periodically for signs of external feeders (moth webbing) or internal feeders (holey kernels and live weevils).
Best Practices for Preventing an Outbreak
Keep dry goods sealed, clean shelves regularly, and inspect incoming groceries for signs of insects or damaged packaging. Small actions — like freezing bulk flour and using glass or metal containers — stop most pantry problems before they start.
Proactive Food Storage Solutions
Store all grains, flours, rice, cereals, and pet food in airtight containers made of glass, metal, or heavy-duty plastic with secure lids. Label containers with purchase or open dates so you use older items first and avoid long-term storage that invites beetle larvae or pantry moths. For bulk purchases, portion items into smaller sealed jars or Mylar bags with oxygen absorbers to prevent eggs from developing.
Freeze newly bought whole grains, nuts, and specialty flours for 3–4 days before moving them to the pantry to kill any hitchhiking eggs. Keep open packages in sealed jars rather than cardboard, and avoid storing food in cardboard or thin plastic that pantry bugs can chew through.
Place frequently used items at eye level and older, long-term items higher or lower so you inspect them when you reach for staples. Use a simple rotating checklist on a phone or a shelf label to track items older than six months.
Recognizing and Removing Early Signs of Infestation
Check packages and containers weekly for webbing, loose “frass” (fine powdery droppings), shed skins, or tiny holes in cardboard and plastic. Look inside lids and corners of jars where pantry moths lay eggs; you may find small white larvae or adults near light sources.
If you find contamination, remove all exposed food from shelves and inspect each package. Discard heavily infested items in sealed garbage bags and take them outside immediately. For questionable items, transfer contents to a freezer-safe container and freeze 3–7 days, or discard when in doubt.
Vacuum shelf corners, seams, and crevices to remove eggs and frass, then wash shelves with soap and hot water. Pull out boxes and cans to check behind and beneath shelving; infestations often start in stored boxes or infrequently moved goods.
Natural and Physical Pest Control Tools
Use pheromone traps to monitor and reduce adult pantry moth populations; place one trap per affected cabinet and replace monthly. These traps catch male moths and reveal population levels so you know when to intensify control.
Deploy sticky traps near baseboards and corners to catch crawling beetles and adult moths. Combine traps with mechanical barriers: door sweeps, airtight lids, and shelf edge strips. Put bay leaves in dry goods as a low-risk deterrent, and use peppermint oil-soaked cotton balls around perimeter gaps to discourage rodents and some insects.
Avoid insecticide sprays near food; opt for targeted traps and physical removal instead. Clean traps and replace them after significant captures. Maintain low humidity with a dehumidifier or desiccant packs to reduce conditions that favor pantry pest reproduction.
Professional Intervention for Persistent Infestations
If infestations persist after sanitation, trapping, and sealing, contact a licensed pest control professional specializing in pantry pests. They can identify species (e.g., Indianmeal moths, flour beetles) and apply targeted treatments such as residual dusts in wall voids or localized baits outside food-contact areas.
Ask the technician for an inspection report that lists entry points, likely infested items, and recommended follow-up actions like replacing damaged containers or structural sealing. Request methods that minimize chemical exposure near food and prefer integrated pest management (IPM) approaches combining exclusion, sanitation, and monitoring.
After treatment, continue weekly inspections and maintain airtight storage and cleaning routines to prevent reinfestation. Keep records of treated areas and replacement dates for containers so you can track the problem and quickly spot any recurrence.