A pantry for a family of five works hard. It holds breakfast, snacks, school lunch supplies, baking gear and the emergency can of soup, all in a space that is usually only a few shelves deep. When it is disorganized, you buy duplicates, lose track of what is expiring and waste time hunting for the crackers. A professional organizer who posts as @tidycademypro shows how she transformed one of these pantries, and her process is a good template for any kitchen.
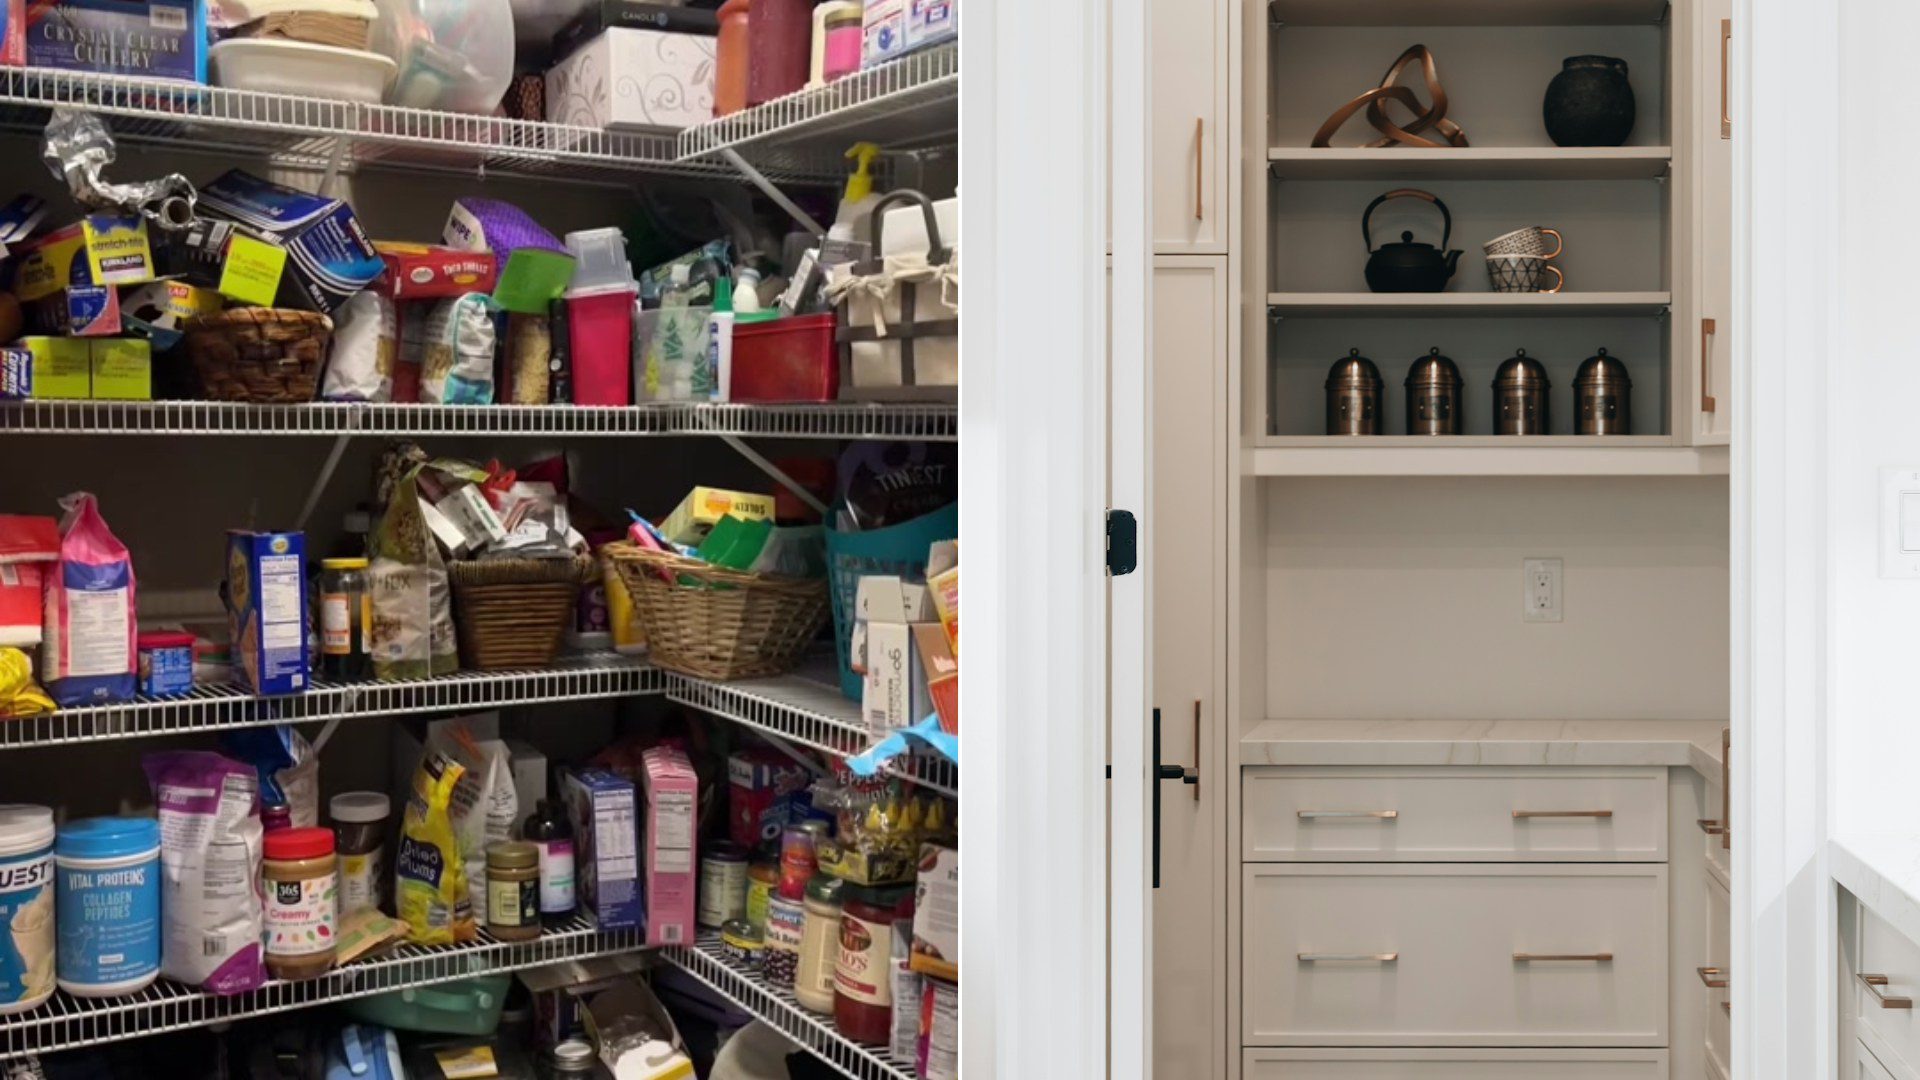
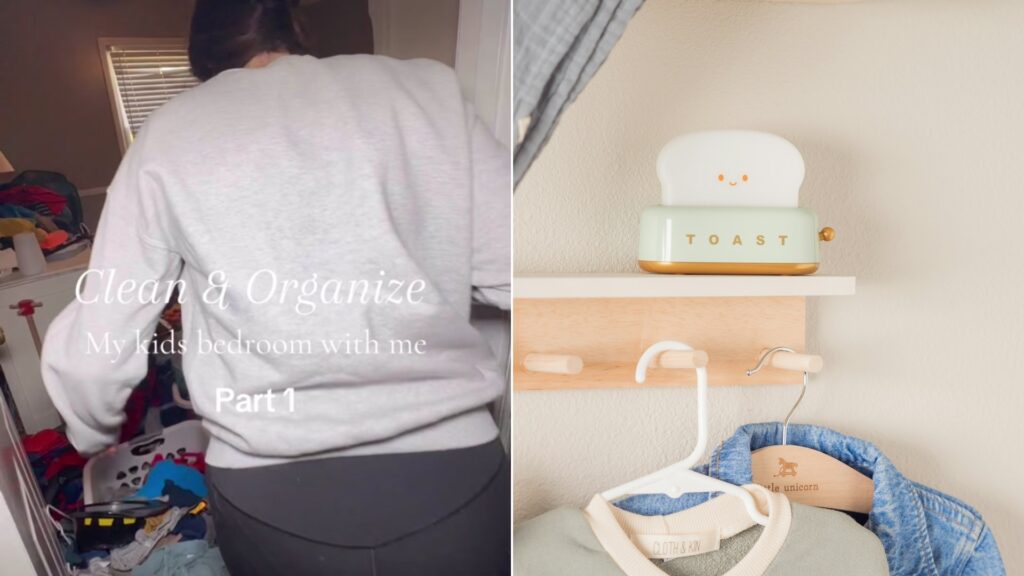
Her caption says she turned the pantry into a beautifully functional space. Here is what she did, in order, and how you can adapt it at home, even if you do not have a single matching basket to your name yet.
@tidycademypro
Step one: take everything out and sort by category
The first order of business, she says, is to clear everything out of the pantry and separate it into categories. As she removes items, she looks for three things: expired food to throw away, items to donate, and things that can be stored somewhere else in the house.
This step is where most people stumble because it makes a big mess before it gets better. But you cannot organize what you cannot see. Pulling out every can and box lets you check dates, spot duplicates and decide what you really use.
Step two: measure and plan
Once the pantry was empty and she had her categories, she took measurements and wrote down what type of containment was needed. This is the step amateurs skip. If you buy bins before you measure, you may end up with baskets that do not fit or leave dead space. Measure the depth, height and width of each shelf, and note how much of each category you own.
Step three: put it all back with the right containers
Once her supplies arrived, she implemented the plan shelf by shelf. Here is how she used each one.
- Top shelf: cube baskets. She used them to hold paper products, baking gadgets, and treats and candy. The top shelf is hard to reach, so it is best for things you use less often.
- Canned goods: an expandable riser. A riser lifts the back row of cans so you can see every label. No more buying a fourth can of beans because you could not see the other three.
- Snacks, bottles and sauces: divided turntables. She calls these perfect for storing snacks, bottles and sauces. Turntables also make the most of corner space, where items usually get lost.
- Middle shelf: wicker baskets. These hold prepackaged dinner items like rice and noodles. Putting similar meals together makes it easy to grab something at dinnertime.
- Matching baskets for snacks and protein powder. Baskets that match the top shelf ones keep the look consistent.
- Bread goes inside. To clear space on the countertops, she moved the family’s bread into the pantry.
- Bottom shelf: clear acrylic bins. These hold the kids’ snacks. Because the bins are clear, children can see exactly what is inside and help themselves.
- Chips and bagged items: cubed wicker baskets. These soft sided baskets are a good home for bags that would otherwise slump over.
She also notes that she forgot to film the food storage containers, so she shows them at the end along with the finished pantry. And she mentions she is organizing the kitchen too, with that video coming next.
Why this layout works
The method follows a few principles that professional organizers use again and again.
Heavy and frequent at eye level, rare at the top. The things a family reaches for every day belong at hand height. Rarely used items, like baking gadgets and paper goods, go up high. Kids’ items go down low, where they can safely reach them.
Group like with like. Dinners with dinners, snacks with snacks, baking with baking. When everyone knows where a category lives, the pantry stays tidy longer.
Make it visible. Clear bins, risers and turntables all serve the same purpose: to let you see what you have. If you cannot see it, you will forget it, and food will expire.
Give every category a boundary. A basket sets a limit. When the chip basket is full, you do not need to buy more chips. That quiet rule can save money on groceries over time.
How to do it on a budget
You do not have to buy a full set of baskets to get most of the benefit. Here are some ways to copy her approach with less spending.
- Start with the purge. Throwing out expired items and donating what you will not eat costs nothing and frees a surprising amount of space.
- Reuse what you have. Shoe boxes, cardboard trays and baskets from around the house can work as temporary bins.
- Buy one thing at a time. A single riser or turntable can solve the problem area first.
- Measure before you shop. A tape measure can save you a return trip.
- Check discount stores and thrift shops. They often carry baskets and bins for a fraction of the price.
Keeping it organized
A fresh pantry is wonderful, but the real test is a month later. Take a few minutes every week or two to put things back in their places, and check dates each time you restock. When you bring home groceries, fill the baskets first, then add new items behind or beneath the old ones so the oldest food gets used first. Some families like to put a small label on each basket so everybody, including guests and helpers, can put things in the right spot.
The pantry for this family of five went from overflowing to organized in one job, and the secret was not fancy storage. It was the sequence: empty, sort, measure, and then contain. Follow that order in your own kitchen, and you may be surprised how much calmer dinnertime feels.