

Most people picture a reseller’s week as one long treasure hunt: thrift store, estate sale, bin store, repeat. @selectthreads says the real money is made by what happens after the hunt, and she has turned that part into a routine so tidy that she calls the paperwork “boring stuff” and still looks forward to it.

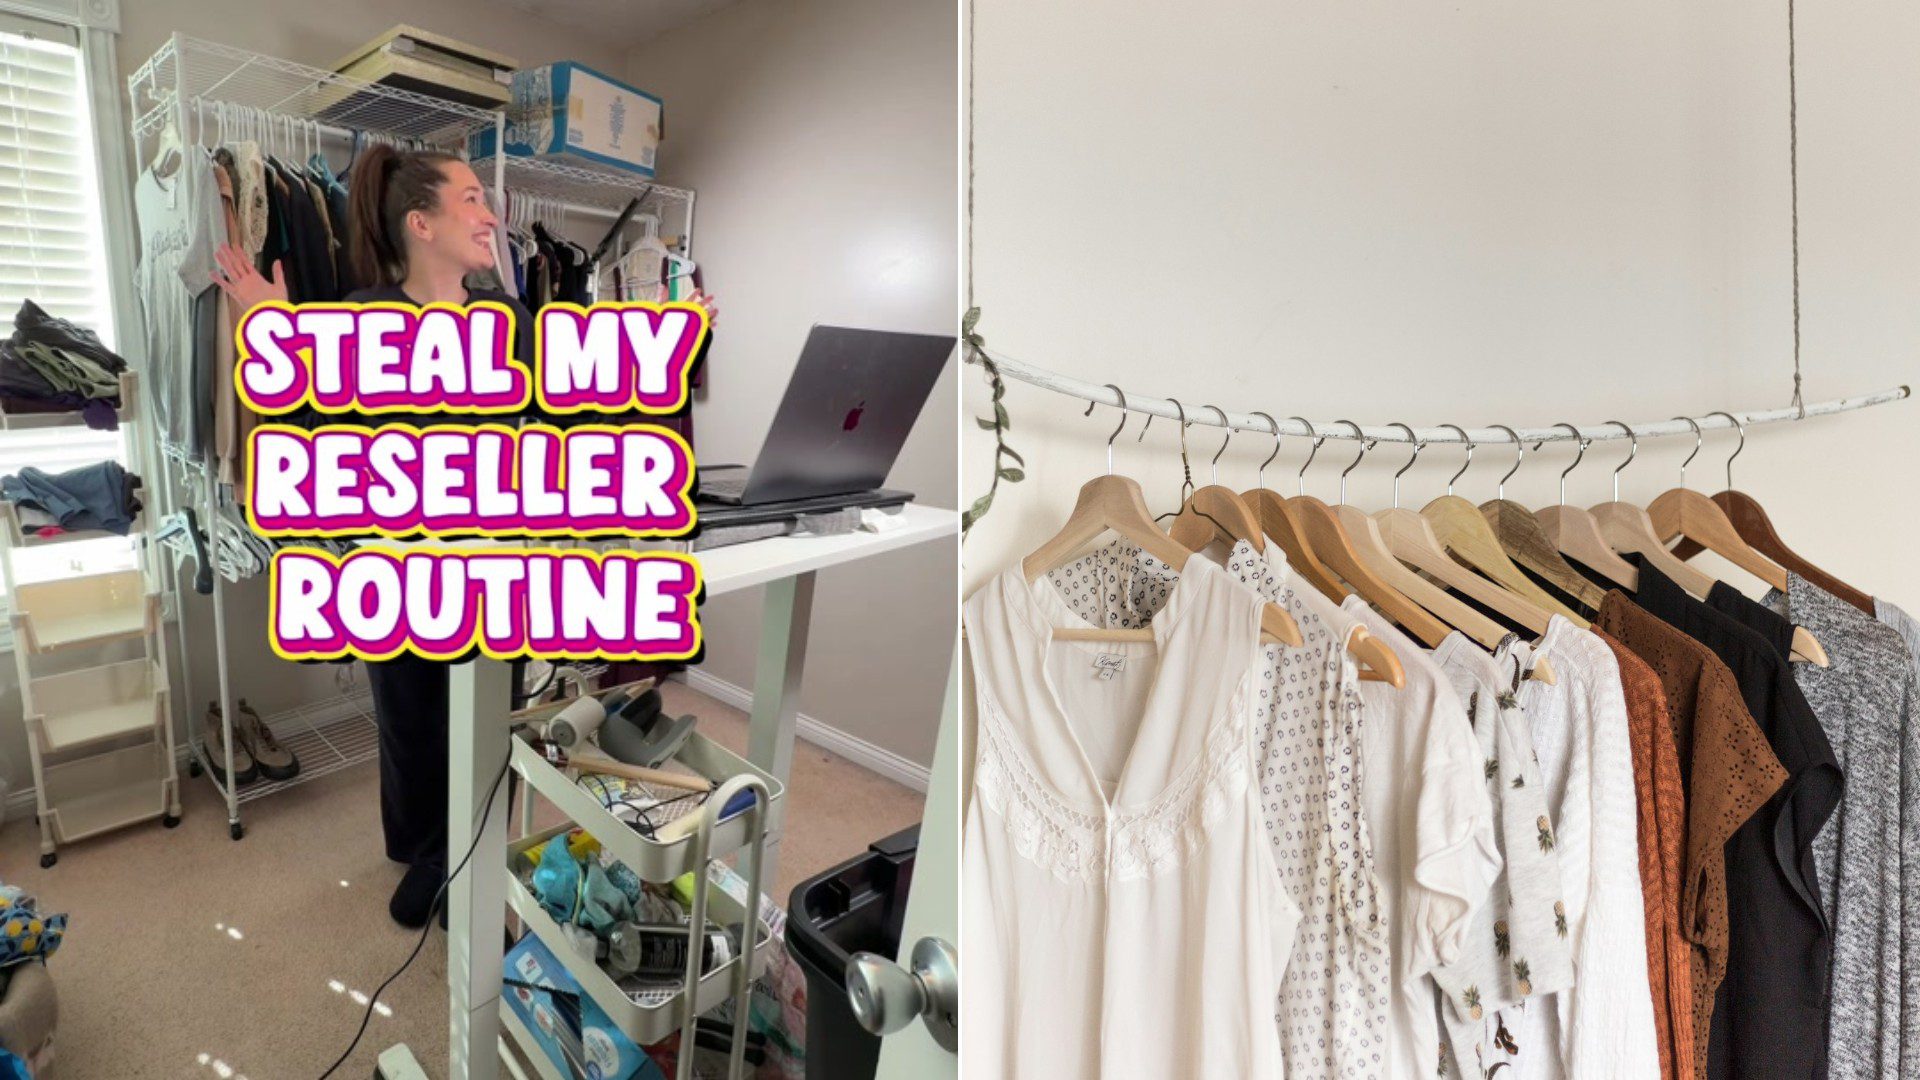
Her schedule is simple. She does batch photography about twice a week, photographing as many items as she is able to within those two days. Then she sources on the other three days of the week. Her pitch to other sellers is blunt: “Steal my reseller routine.”
@selectthreads
Two Days Of Photos, Three Days Of Thrifting, And A Clothing Rack In The Office
Once an item she has sourced is ready to be photographed, it gets hung on the clothing racks in her office. Pants and other bottoms go in a bin next to the racks.
She says she has fine tuned the process over the years, but she is quick to add that your setup does not have to look exactly like hers. In fact, she says, hers still has room for improvement.
That is a refreshing thing to hear from someone who does this full time. No fancy studio, just racks, a bin and a plan.
Eight To 10 Photos Of Every Item, Including The Flaws
She tries to take eight to 10 photos of each item. Those shots include the size tag and the material tag, and, “of course,” any imperfections a buyer needs to know about.
She also takes measurements. Some resellers photograph a measuring stick next to the item, and she says that is a great way to do it too. Again, her message is that the method does not have to be hers.
Then she opens the listing spreadsheet on her laptop. In it she puts a short description of the item, the measurements, and the weight. It is also where she leaves herself a note if there is a flaw or a style number she wants to be sure ends up in the listing.
Every Item Gets Weighed Into An Inventory Bag Before It Goes Anywhere
Here is the step that makes her system different. She grabs an available inventory bag and puts that bag’s number into her inventory spreadsheet.
The finished item goes into the bag, and the bag goes on the scale. She enters that weight in the inventory spreadsheet as well.
When the photography session is done, the bagged items go into an IKEA bag. She carries the whole thing downstairs to her inventory storage system, which sits under her standing desk.
The Rolling Cart That Saves Her A Trip For Every Little Fix
Besides the inventory bags, she keeps a little rolling cart stocked with everything she needs during a photo session. It holds hangers, a lint roller, a sweater shaver, scissors, a spot remover and a measuring tape.
It has a practical purpose. If she notices a stain under the lights, she can treat it on the spot, then toss the piece aside to go in the laundry later. The cart also carries extra inventory storage bags so she never has to stop mid-session.
The last step is to take everything down to the storage system and put each item away in the correct SKU number box. Then, as she puts it, the boring stuff is done and she can look forward to a day of thrifting and sourcing tomorrow.
Why A Routine Like This Pays Off For Any Seller
You do not need to be selling vintage denim or designer sweaters for this to be useful. Anyone who sells things online, whether it is a closet clean out or a garage full of finds, runs into the same problem: stuff piles up, and you cannot find what you sold.
Batching is the core idea. Instead of photographing one item whenever you happen to get to it, you set aside a block of time and do them all at once. The racks, the lint roller and the measuring tape are already out, so each item moves faster than it would on its own.
The numbered bag and the weight are the other half. Shipping cost depends heavily on weight, and having the weight already written down when you list an item means no scrambling for a scale on the day it sells.
How To Borrow Her System Without Copying Her Office
If you are just starting out, you can take the idea and shrink it to fit your home. Here is a simple way to begin.
- Pick two set days for photos, and keep your sourcing days separate so you are not doing both at once.
- Hang the items you plan to photograph on one rack, a closet rod or the back of a door.
- Take photos of the size tag, the material tag and any flaw, plus the item itself from several angles.
- Write the measurements and weight in a spreadsheet as you go, with a column for notes.
- Give every item a bag, bin or box number, and write that number down next to the listing.
Keep a small kit nearby too: a lint roller, scissors, a measuring tape and a spot remover will cover most of what you run into. The goal is to never have to walk away from a half photographed item to hunt for a tool.
The Bottom Line For Anyone Who Loves The Hunt But Hates The Paperwork
Her routine proves that the boring stuff can be done in two focused days, leaving the fun part of the job intact. The thrill of finding something good at a thrift store is real, but it only turns into money once the item is photographed, listed and findable.
And her own last word is the best advice in the video: copy what works, skip what does not, and remember that your setup does not have to look exactly like anyone else’s.
More Stories You May Like
- Fifteen Year Clothing Reseller Says She Pays $1.59 A Pound For Goodwill Outlet Bin Clothes And Aims To Turn A Dollar Item Into A $20 Sale
- Resellers Spent $281 At A Flea Market And Thrift Stores And Say It Turned Into $2,381 In Three Days Including A Signed NASCAR Car Bought For Just $10
- Homeschool Mom Calls Her Method The Worst Planning Advice You Will Ever Hear Then Explains Why Planning Her Whole Week Every Saturday Morning Works