Your craft stash should feel inspiring, not overwhelming. Yet even the most creative workspace can quietly fill with clutter that blocks projects and hides the supplies you actually love. By looking at how professional organizers approach everyday habits, you can spot which items are silently clogging your drawers, bins, and shelves and start clearing space for the tools and materials you truly use.
1) Dried-Out Markers And Pens
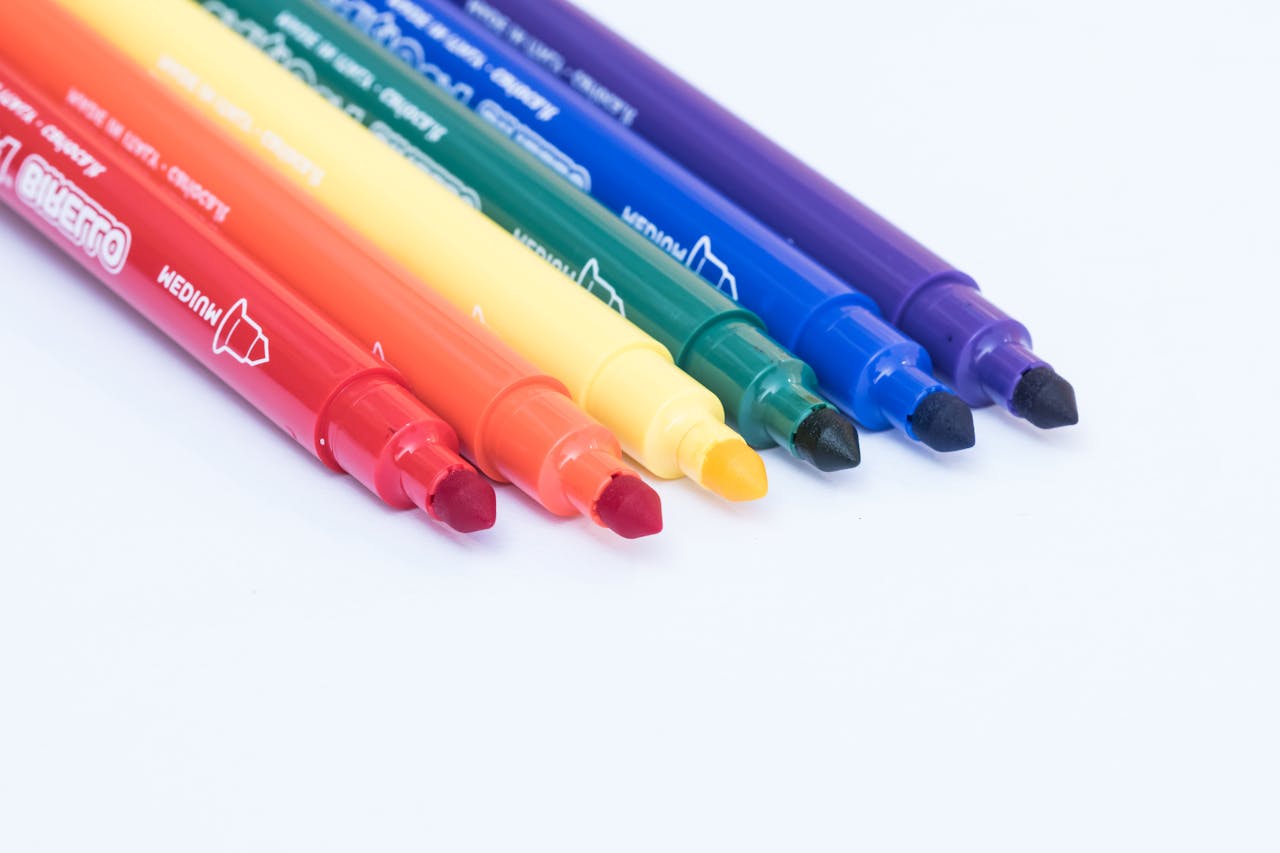
Dried-out markers and pens are classic clutter, taking up the same prime storage as tools that still work. You keep them “just in case,” but they slow you down every time you test one, scribble, and toss it aside mid-project. Professional organizers consistently warn that hanging on to broken or nonfunctional items is one of the fastest ways to turn a useful zone into a junk drawer, a principle that applies directly to your writing tools and coloring supplies.
To cut this category down, gather every pen, marker, and paint pen into one container and test them in a single sitting. Anything that skips, leaks, or has a frayed tip should go straight into the trash or a recycling program that accepts writing instruments. This simple sweep frees up cups, caddies, and drawer organizers for the pens you actually reach for, making it easier to label bins, sketch ideas, and finish projects without constant frustration.
2) Mystery Cords And Old Glue Guns
Mystery cords and outdated glue guns clutter craft spaces because they feel too “useful” to toss, even when you no longer know what they belong to. That hesitation mirrors a broader organizing mistake experts flag, where people store random tech and tools without a clear purpose. In a craft room, that looks like a tangle of chargers, half-broken glue guns, and unused heating tools that crowd out the reliable gear you use for everyday projects.
Start by matching each cord to a current device and labeling it with painter’s tape. Anything that does not have a clear match or powers a tool you have already upgraded becomes clutter, not a backup. The same goes for glue guns that drip constantly or scorch fabric. Letting these go opens space for a single, high-quality glue gun, a heat tool you trust, and a small, labeled box of cords you can actually identify, which keeps your work surface safer and more efficient.
3) Duplicates Of Basic Tools
Duplicates of basic tools, like scissors, rulers, and tape dispensers, quietly multiply until every drawer holds a half-functional version. Organizing professionals often caution against buying extras instead of putting systems in place, because duplicates hide the tools you truly prefer. In a craft area, that means you dig through three dull pairs of scissors before finding the sharp fabric shears you meant to protect, or you keep buying new seam rippers because the old ones are buried.
To reclaim order, gather every duplicate tool and decide how many you realistically need. One excellent pair of paper scissors, one fabric-only pair, a single rotary cutter, and one or two rulers will serve most crafters better than a dozen mediocre options. Store the chosen tools in visible, labeled spots and donate or recycle the rest. This shift turns your workspace from a scavenger hunt into a streamlined studio where you can start cutting, measuring, and trimming without delay.
4) Unlabeled Opaque Bins
Unlabeled opaque bins are some of the most deceptive clutter in any craft room. They look tidy from the outside, but professional organizers frequently point out that hidden storage without labels encourages you to stash and forget. When you cannot see what is inside, you are more likely to buy duplicates, lose track of in-progress projects, and let half-finished ideas sink to the bottom of a plastic tub.
Instead of stacking mystery bins, assign each container a clear category and label it on at least two sides. If you prefer opaque bins for visual calm, add a simple inventory card under the lid that lists what is inside. This small step turns every box into a functional drawer rather than a black hole. It also supports the broader habit experts highlight in guides to professional organizing choices, where visibility and clear systems prevent clutter from creeping back.
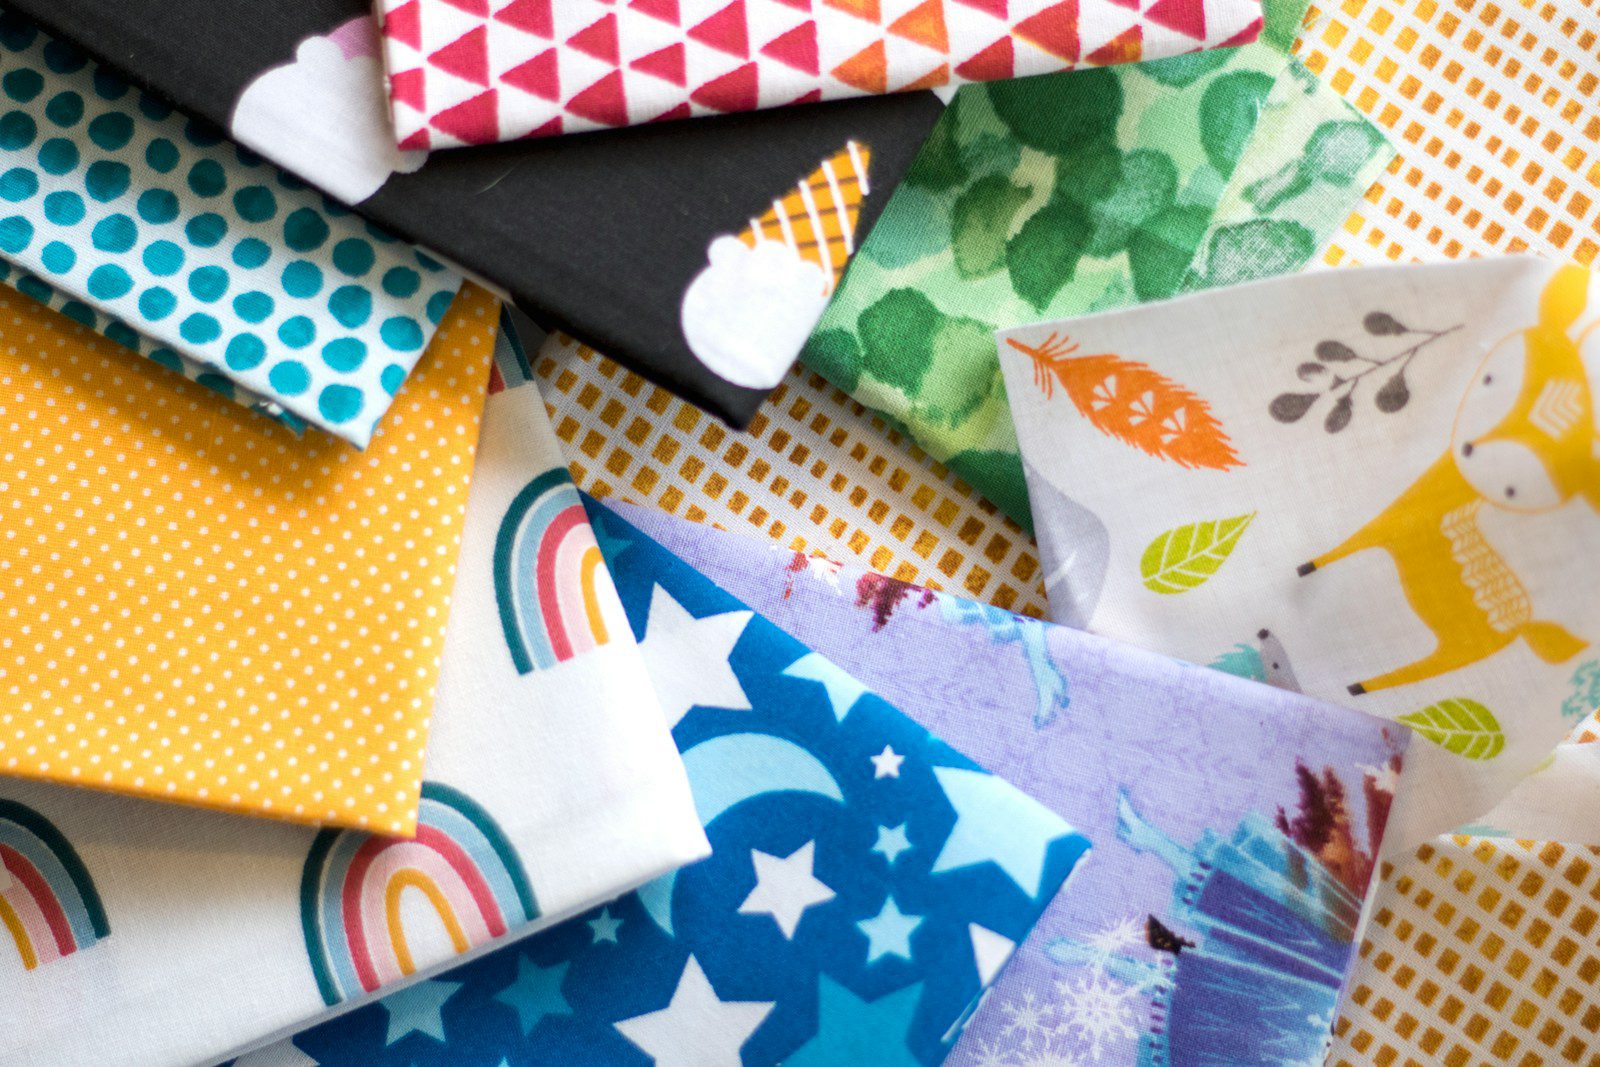
5) Scraps You Will Never Use
Scraps you will never use, from tiny fabric triangles to one-inch paper strips, can overwhelm even the most carefully planned craft area. Many crafters save every leftover piece “for a future project,” but organizers note that keeping items without a realistic plan is a major driver of clutter. Over time, those scraps spill out of bins, tangle with full-size materials, and make it harder to find the yardage or cardstock you actually bought for specific projects.
A practical approach is to set a minimum size or purpose rule. For example, only keep fabric pieces large enough to cut a 5-inch square, or paper big enough for a card front. Designate a single bin or folder for these usable scraps and commit to donating or recycling anything that does not fit the rule. This boundary keeps your stash creative instead of chaotic and ensures that when you reach for scraps, you find pieces that truly spark ideas instead of bags of random leftovers.
6) Expired Paints, Glues, And Finishes
Expired paints, glues, and finishes clutter shelves while quietly sabotaging your projects. Bottles that have separated, thickened, or grown mold will not perform as intended, yet they often linger because you assume they are still fine. Organizing experts regularly emphasize that keeping expired products is a hidden form of clutter, since they occupy space without delivering any value and can even damage materials when they fail mid-project.
Check each bottle for expiration dates, texture changes, or off smells, especially acrylic paints, fabric glues, and sealers like Mod Podge or polyurethane. Dispose of anything that has hardened or separated beyond saving, following local guidelines for chemical waste when needed. The result is a smaller, more reliable collection of adhesives and finishes that you can trust on heirloom quilts, handmade furniture, or kids’ school projects, reducing both mess and the risk of having to redo hours of work.
7) Bulk-Buy Supplies You Dislike
Bulk-buy supplies you dislike, such as yarn in a color you never reach for or a 50-pack of glitter you regret, are a subtle but stubborn form of clutter. They stick around because you spent money on them, yet professional organizers often warn that “sunk cost” thinking keeps homes full of items that do not fit current needs. In a craft space, that means shelves lined with materials that actively block you from seeing the fabrics, papers, and embellishments you genuinely enjoy using.
To break the cycle, identify which bulk items you consistently avoid and ask whether they match your current style or skill level. If the answer is no, treat them as candidates for donation to schools, community centers, or mutual-aid craft groups. Letting go of these supplies not only clears physical space but also mental space, making it easier to plan projects around materials you love instead of feeling guilty about what you “should” use up.
8) Packaging, Jars, And “Someday” Containers
Packaging, jars, and “someday” containers accumulate quickly in creative spaces because they seem too potentially useful to toss. You save candle jars for future storage, sturdy boxes for gift wrapping, and every small tin that might hold beads. Organizers frequently highlight this habit as a clutter trap, since most people collect far more containers than they will ever repurpose, turning shelves into staging grounds for recycling instead of functional storage.
Set a firm limit on how many empty containers you keep, such as one small bin of glass jars and one stack of flat boxes. Choose only the most versatile shapes and sizes, then recycle or discard the rest. When you need a container for a project, shop that curated stash first. This approach keeps your craft area from becoming a holding zone for trash and ensures that the containers you do keep are ready to support real projects, not just theoretical ones.
9) Incomplete Kits And Abandoned Projects
Incomplete kits and abandoned projects take up disproportionate space in craft rooms, often accompanied by a sense of guilt. You hold on to half-finished embroidery, a nearly complete quilt top, or a paint-by-number you lost interest in, assuming you will return “someday.” Organizing professionals often point out that unmade decisions are a major source of clutter, and these lingering projects are physical reminders of choices you have not finalized.
To tackle them, pull every in-progress kit or project into one visible area and decide item by item whether it still excites you. If it does, schedule time on your calendar to finish it and store it in a clearly labeled bin. If it does not, salvage any reusable materials and donate or discard the rest. This process frees up bins, baskets, and mental bandwidth, allowing your craft space to reflect what you are actually making now instead of what you once thought you might create.
10) Random Household Items “For Crafting”
Random household items “for crafting,” like toilet paper rolls, bottle caps, and old magazines, can quickly overwhelm a workspace. Many crafters see potential in everything, but organizers note that without clear limits, this habit turns recycling into clutter. Over time, bags of cardboard tubes and stacks of catalogs crowd out the high-quality cardstock, specialty papers, and embellishments that truly elevate your projects.
To keep this category in check, define specific projects that justify saving certain items, such as kids’ school crafts or a planned collage series. Store only what you need for those projects in a single, labeled container and send the rest to the recycling bin. This boundary lets you stay resourceful without drowning in “maybe” materials, and it helps ensure that your craft area remains a place for intentional creativity rather than a catchall for household leftovers.
11) Seasonal Decor Supplies You Never Reach For
Seasonal decor supplies you never reach for, like outdated ribbon, faded faux florals, or themed stickers, often linger in craft rooms long after your style has changed. They feel too specific to toss, yet professional organizers regularly stress that items you consistently skip are prime clutter candidates. Each year you bypass the same Halloween paper stack or Christmas stamp set, those supplies confirm they no longer fit your aesthetic or your current projects.
Review your seasonal bins right after a holiday, when your memory of what you actually used is fresh. Pull out anything that stayed in the box this year and ask whether it realistically fits next year’s plans. Donate usable items to teachers, nursing homes, or community groups that decorate on a budget. By trimming this category, you make room for timeless basics like neutral ribbons, greenery, and versatile stamps that support multiple seasons without overwhelming your storage.
12) Storage Systems That Do Not Match How You Craft
Storage systems that do not match how you craft are clutter in disguise, even if they look pretty on a shelf. You might have tiny drawers for beads when you mostly sew, or a wall of washi tape racks when you rarely use them. Organizing experts often emphasize that systems must reflect real habits, not aspirational ones, or they will quickly become dumping grounds. In a craft room, that mismatch leads to overflowing bins in one corner and pristine, unused organizers in another.
Observe how you naturally work for a week or two, noting which tools you reach for most and where you tend to sit or stand. Then adjust your storage so your most-used supplies live within arm’s reach of that zone, while less-used categories move higher or farther away. Repurpose or donate organizers that do not fit your workflow. Aligning your systems with your actual crafting patterns reduces clutter, shortens setup time, and makes it far more likely that you will keep the space tidy between projects.
More from Decluttering Mom: