You should check your water heater today because a quick inspection can prevent leaks, improve efficiency, and avoid unexpected replacement costs. A short, regular check saves money and keeps hot water reliable when you need it most.
They’ll walk through practical signs to watch for and simple maintenance steps you can start now, so problems don’t turn into emergencies. The next sections explain why inspectors urge prompt checks and what easy actions experts recommend to keep your system running smoothly.
Top Reasons to Inspect Your Water Heater Today
A quick inspection can prevent sudden failures, keep energy bills down, and protect the home from water damage. Regular checks target leaks, sediment, temperature problems, and early signs of corrosion so the unit lasts longer and works reliably.
Prevent Expensive Damage and Leaks
Heavier leaks often start as small drips at fittings, valves, or the tank seam. They can soak surrounding flooring, drywall, and insulation in hours; catching a small leak early avoids large repair bills and mold remediation.
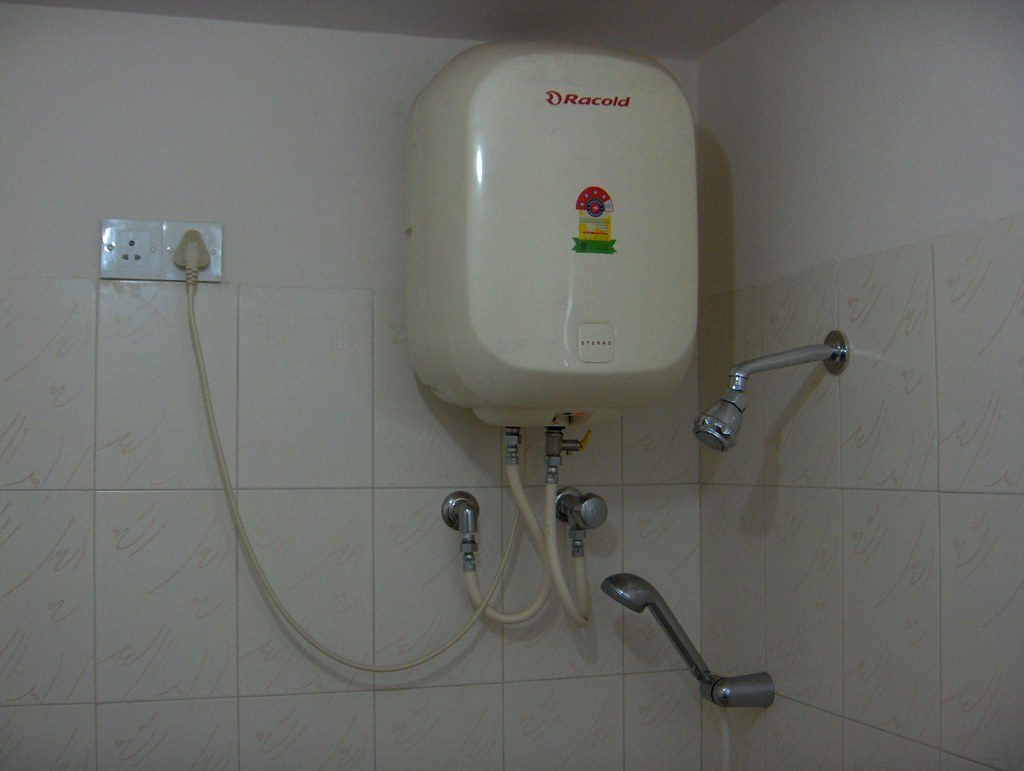
Technicians recommend checking the area around a tank water heater for pooled water, rust-colored mineral deposits, or wet insulation. Tighten loose fittings and replace corroded valves promptly. If the tank itself shows a steady leak or severe rust at the seam, a professional plumber should evaluate replacement instead of patch repairs.
Flush Out Sediment for Better Efficiency
Sediment buildup—mostly calcium and magnesium from hard water—settles at the tank bottom and reduces heat transfer. That forces the burner or heating element to run longer, raising energy use and shortening component life.
Flushing the tank annually removes most sediment and restores efficiency. The process typically involves turning off power or gas, attaching a hose to the drain valve, and running the tank until clear water flows. If the water runs brown or gritty, a full service by a plumber can decide whether more aggressive descaling or an anode rod replacement is needed.
Keep Your Hot Water Consistent
Inconsistent water temperature or low hot water volume usually signals internal problems long before a complete failure. Sediment can create cold zones in the tank, and a failing thermostat or dip tube will produce uneven temperatures during showers.
Homeowners should check thermostat settings, test hot water at multiple fixtures, and note any sudden drops in temperature. If temperatures swing or hot water runs out faster than expected, a water heater inspection and possible element or dip tube replacement will restore reliable performance.
Catch Problems Like Rust or Discolored Water Early
Rust-colored or cloudy hot water points to corrosion inside the tank or a failing anode rod. Left unchecked, internal corrosion can perforate the tank and cause catastrophic leaks.
Inspect the hot water at faucets for discoloration and smell. If water clears after flushing the heater, sediment was likely the cause; persistent rust indicates metal corrosion and a need for professional water heater service. A plumber can test the anode rod and advise whether replacement or full tank replacement best protects water quality and prevents leaks.
Key Maintenance Steps Experts Recommend
Regular checks focus on the parts that most often fail: corrosion, pressure issues, and electrical or gas connections. Simple inspections and timely replacements keep hot water flowing and reduce the chance of leaks or premature tank failure.
Test and Replace the Anode Rod
The anode rod sacrificially corrodes to protect the tank lining. Technicians advise visually inspecting the rod yearly; if it’s less than 1/2 inch thick or heavily pitted, replace it. Replacement intervals commonly fall between 3–5 years but vary with water hardness and whether a water softener is used.
Turn off power or gas and cold-water feed, drain a few gallons to cool the tank, then remove the rod from the top using a deep socket. Install a new rod that matches the tank’s specs and tighten to prevent leaks. Using a magnesium rod can improve protection in soft-water areas; aluminum-zinc rods suit hard water. Record the date on a maintenance sticker.
Check the Temperature and Pressure Relief Valve
The T&P valve prevents pressure buildup that can lead to dangerous failures. Test it annually: place a bucket under the discharge pipe and lift the valve lever briefly. Water should discharge strongly and stop when released; continuous dripping or no discharge means replacement.
If the valve discharges cloudy or full of sediment, flush the tank and retest. Replace any valve that sticks, leaks, or shows corrosion. Ensure the discharge pipe faces downward and terminates safely—never capped—and that its inner diameter matches the valve outlet. For tankless systems, verify the manufacturer’s safety-device checks since designs differ.
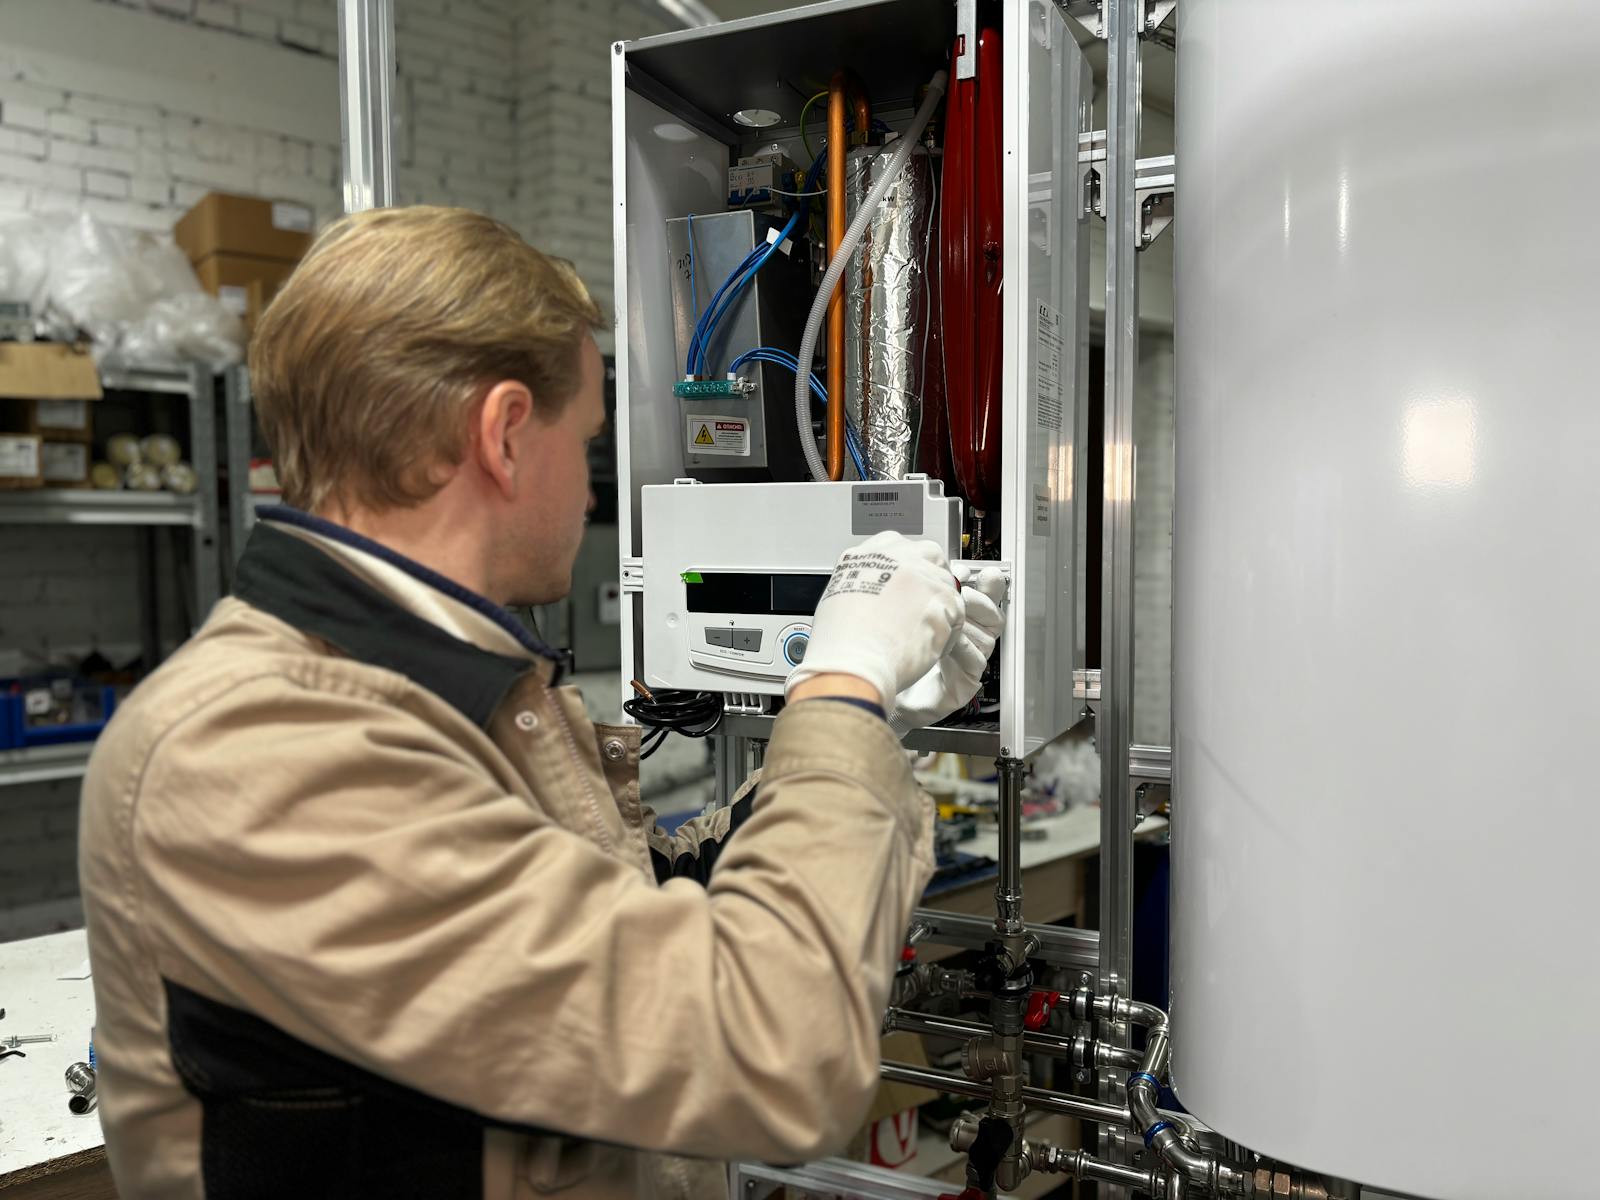
Inspect the Heating Element and Connections
Electric heating elements degrade and wiring can loosen, raising energy bills or causing cold-water delivery. Turn off power at the breaker, remove the access panels, and test each element with a multimeter for continuity. Replace any element that reads open or shows corrosion.
Check wiring for discoloration, loose terminals, and burnt insulation; tighten connections and replace damaged wires. For gas units, inspect the burner and pilot assembly, watching for yellow flame or soot that indicates combustion issues. Tankless water heater maintenance calls for checking heat exchangers for scale; descaling with a vinegar or commercial solution every 6–12 months prevents clogging. Include these checks on a water heater maintenance checklist and log results for future reference.
More from Decluttering Mom: