Propagating a snake plant does not require a greenhouse, a grow light, or a degree in botany. With one healthy leaf and a spare coffee mug, anyone can turn a single plant into a fresh pot of architectural foliage that quietly cleans the air and shrugs off neglect. The trick is understanding how these sturdy succulents grow, then setting up that old mug so it works like a mini propagation lab on the windowsill.
Why a coffee mug is all the gear you really need
Snake plants, also known as Dracaena trifasciata, are built for low drama and high survival, which is exactly what makes them so easy to multiply in a cup of water. Each leaf stores moisture and energy, and along the base of the plant, underground stems called rhizomes keep pushing out new shoots when conditions are right. That built in backup system lets a single leaf segment grow its own roots and eventually form a new rhizome, as long as it has clean water, indirect light, and time.
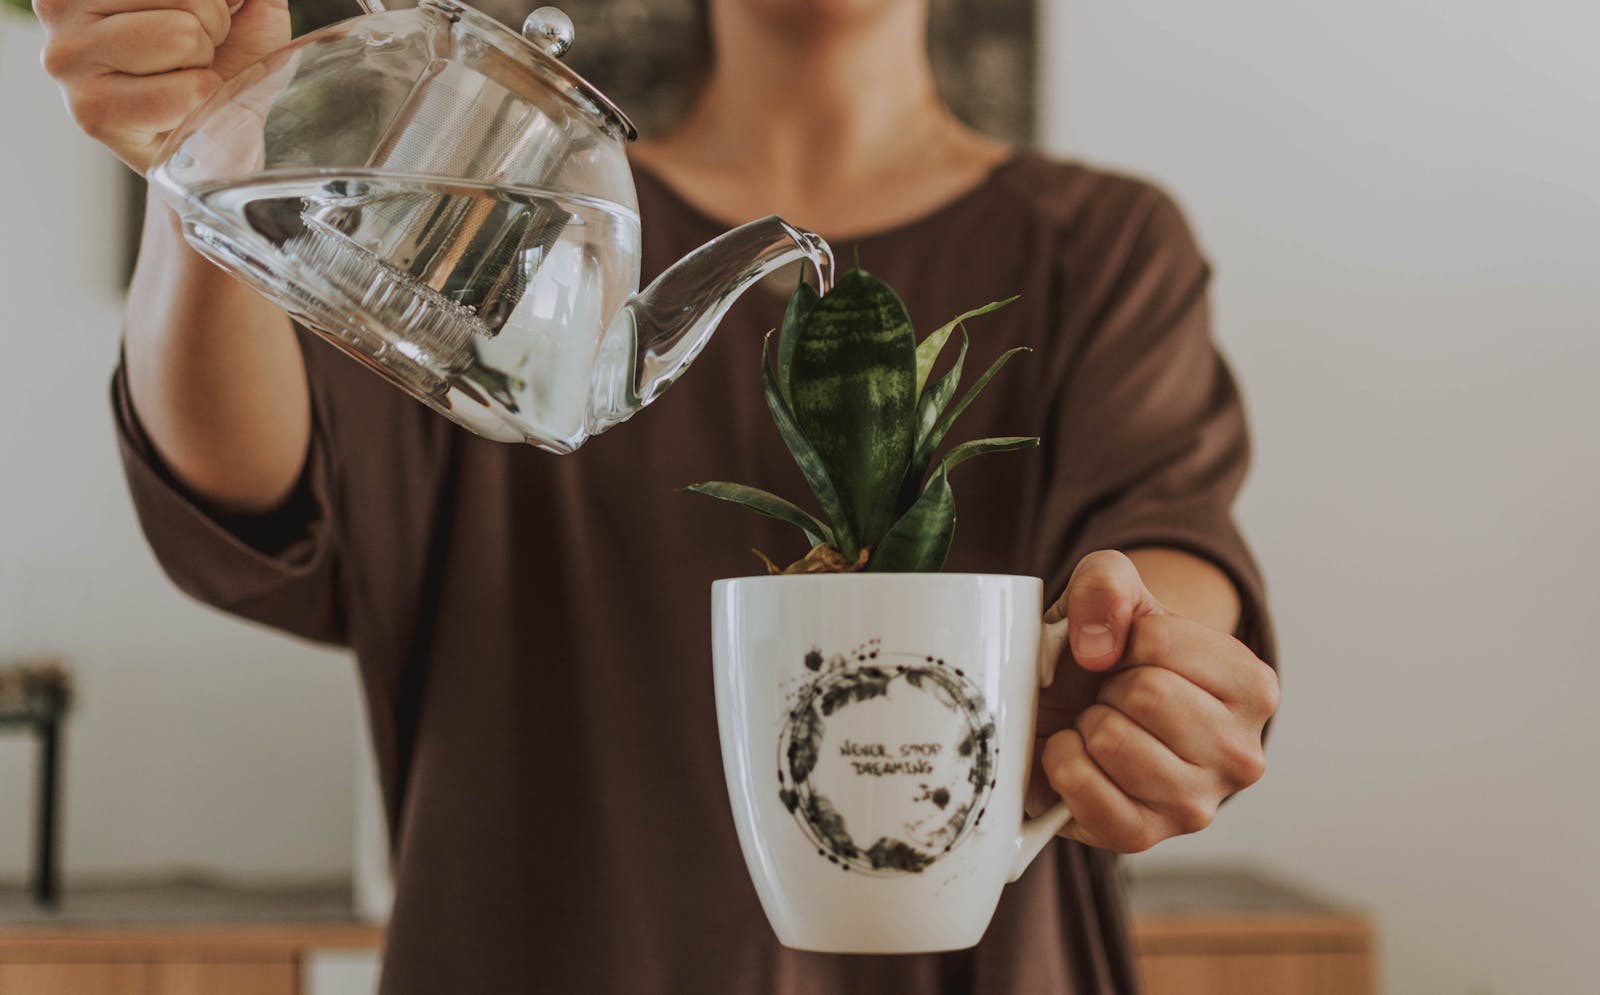
A basic ceramic mug checks more boxes than most people realize. The opaque sides keep light off the forming roots, which helps prevent algae growth and stress, and the wide opening gives the leaf cutting room to sit upright without crowding. Because snake plants tolerate a wide range of indoor temperatures and do not demand constant moisture, a mug filled with tap water that has been allowed to sit so chlorine can dissipate is usually enough to get roots going, as long as the water is refreshed regularly and the cutting is kept out of harsh direct sun.
Step by step: turning one leaf into a new plant
The cleanest propagations start with a sharp, disinfected blade and a mature, unblemished leaf from the outer ring of the plant. Cutting that leaf near the base and then trimming it into sections a few inches long gives multiple chances at success, but orientation matters, since roots only emerge from the end that originally pointed toward the soil. Each segment should be placed in the mug with just the bottom edge submerged, leaving most of the leaf in open air so it can breathe and avoid rotting in stagnant water.
Once the mug is set on a bright, indirect light spot, the real work is patience and maintenance. Changing the water every few days keeps bacteria in check and supplies fresh oxygen, and any segment that starts to turn mushy should be removed before it spoils the rest. Over several weeks, pale roots will begin to appear at the cut edge, followed by a small nub that eventually becomes a new growth point. When those roots reach a couple of inches long and the new shoot is visible, the cutting can be moved into a small pot of well draining soil, with the mug retired back to coffee duty until the next round of propagation.
Keeping the mug method low risk and high reward
Even tough plants can run into trouble if the setup is ignored, so a few guardrails keep the coffee mug experiment from turning into a slimy science project. Using room temperature water instead of very cold or hot helps avoid shocking the tissue, and placing the mug away from heating vents or drafty windows keeps the environment stable while roots form. If algae starts to coat the inside of the mug, a quick scrub with mild soap, a thorough rinse, and fresh water usually resets the system before it affects the cuttings.
Once the new plant is potted, its care should shift from water propagation habits to classic snake plant rules: infrequent watering, a container with a drainage hole, and light that ranges from bright indirect to moderate shade. Letting the soil dry out between waterings protects the new roots from rot, and resisting the urge to upsize the pot too quickly keeps the plant focused on building a strong root ball instead of stretching into weak, floppy leaves. With that rhythm in place, the one time coffee mug project quietly turns into a full grown, low maintenance houseplant that looks like it came from a nursery shelf instead of the back of a kitchen cabinet.
More from Decluttering Mom: