
They watched water pour through the ceiling and realized maintenance wasn’t optional. You’ll follow their story because it shows how a common appliance can flood a home, why small warning signs matter, and what practical steps actually stop the next disaster. You can prevent most water heater floods with simple checks, a few timely fixes, and a plan for immediate action.
They admit they didn’t know how to protect their own home—but that gap in knowledge is fixable. The article walks through how tanks fail, the quick moves to limit damage, and the regular tasks that keep a heater reliable so you don’t face the same shock.
When a Water Heater Floods the House: How It Happens and What You Missed
A sudden tank failure or a slow leak usually causes the most damage, and most problems trace back to age, corrosion, or neglected maintenance. Knowing the specific components that fail and the warning signs can help a homeowner stop a small leak before it becomes a flooded basement or ruined drywall.
Common Causes of Water Heater Flooding and Leaks
Corrosion of the steel tank and a worn anode rod cause the most tank failures. Over years, mineral-laden water and sediment buildup collect on the bottom of tanks, accelerating rust through thin spots that eventually rupture and cause a burst water heater.
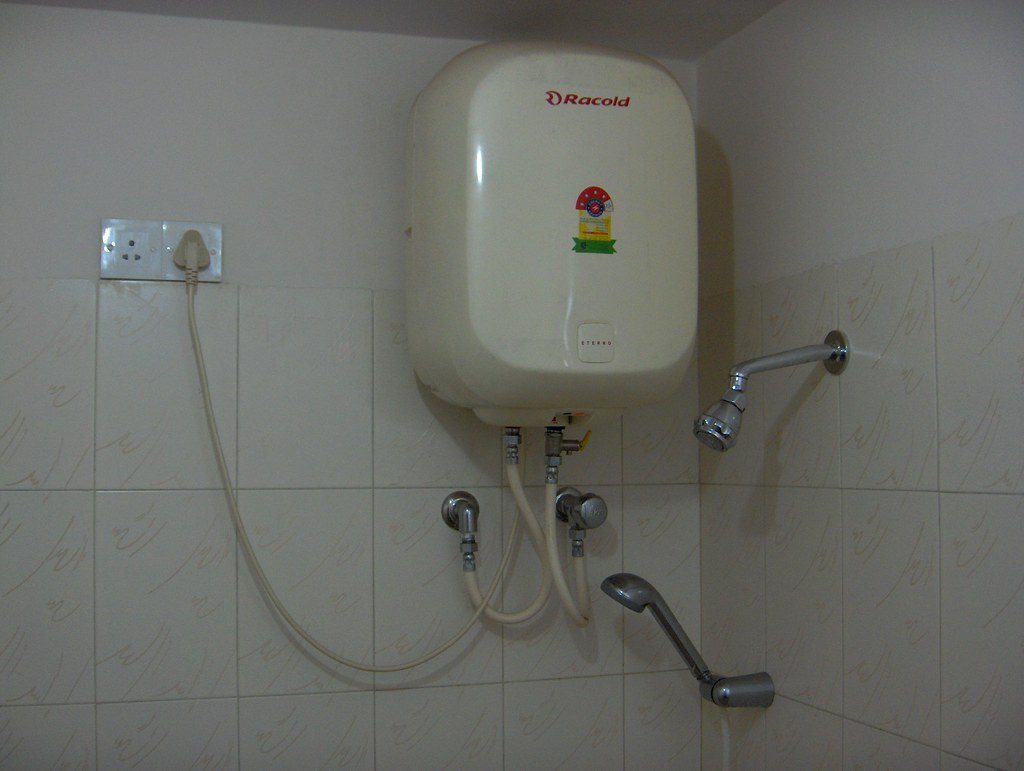
Component failures also trigger floods: a faulty temperature and pressure relief valve (T&P valve) that sticks or discharges repeatedly, a leaking drain valve left partially open, or failed supply lines and fittings. Installation problems—improper fittings, poor drainage under the unit, or no drain pan—raise the chance that any single leak will flood the room.
Mechanical wear and water chemistry matter. Hard water speeds sediment buildup and clogs drains, while thermal cycling stresses welds and fittings. Regular inspection of the anode rod, drain valve, and visible fittings reduces the risk of sudden failure.
Warning Signs Before a Water Heater Failure
Unusual noises like popping, rumbling, or banging often mean heavy sediment buildup at the tank bottom. Sediment traps heat and creates hot spots that warp metal or accelerate corrosion. If the unit sounds worse when heating, it needs flushing.
Rusty water or discolored taps signals internal corrosion or a failing anode rod. Visible exterior rust, weeping around fittings, or a constantly damp floor beneath the heater indicates small leaks that will worsen. Leaks at the drain valve or loose supply-line connections often start slow but widen quickly.
Frequent T&P valve discharge, a pressure relief valve that won’t reseat, or unexplained drops in hot water pressure point to pressure, temperature, or internal failure. Age is a clear metric: most tanks older than 10–12 years have much higher risk of tank failure and should be evaluated for replacement.
Why Water Heater Floods Lead to Serious House Damage
Water from a flooded water heater soaks framing, insulation, drywall, and flooring fast, creating conditions for mold growth within 24–48 hours. Basements and garages with poor drainage let standing water sit against concrete and wood, increasing structural and finish damage.
Electrical hazards multiply risk: water contacting outlets, breakers, or nearby appliances forces power shutoffs and can damage HVAC equipment. Carpets, subfloors, and cabinetry often need removal and drying; porous materials that stay wet usually require replacement to prevent mold and rot.
Insurance and cleanup costs add up quickly. A small leak may cause localized damage, but a tank failure that releases hundreds of gallons of hot water can require professional water damage restoration, structural repairs, and a new heater. Installing a drain pan, running a safe drain line outside, testing the T&P valve, and fixing small leaks early reduces both flood risk and repair bills.
Protecting Your Home: Immediate Actions, Recovery, and Maintenance Know-How
Act quickly to stop active leaks, remove standing water, and document damage for insurance. Then prioritize safety—electricity, gas, and contaminated water—before deciding repair or replacement.
First Steps to Take After a Water Heater Flood
Immediately shut off the water supply at the cold water supply valve above the tank or the home’s main shutoff if that valve is inaccessible. Turn off electricity at the circuit breaker for electric water heaters; for gas units, shut the gas valve and avoid relighting the pilot until a licensed plumber inspects the system.
If water has spread, remove people and pets from affected rooms and don’t touch electrical devices near standing water. Use a wet/dry vacuum or pump to remove water from a basement flood; place air movers and dehumidifiers to start drying within 24–48 hours to limit mold growth. Photograph all damage for an insurance claim before major cleanup.
Assessing Flood Damage, Restoration, and Safety Risks
Have a professional restoration team or a water damage restoration company inspect structural damage, baseboards, drywall, and insulation for contamination. Contaminated water from a flooded basement or a ruptured tank can carry pathogens and corrosion; remediation should include sanitization and material removal when necessary.
An insurance adjuster should document loss for homeowners insurance or flood insurance claims. Note whether damage stems from sudden failure (often covered) versus gradual leaks (often excluded). Get written estimates from a licensed plumber for repairs or replacement—consider a tankless water heater if repeated flooding or corrosion makes replacement likely.
Prevention Tips for Future Floods and Essential Maintenance
Install a drain pan with an automatic shut-off or an overflow line routed to a window well or exterior drain to catch future tank leaks. Add a moisture alarm and a floater or automatic shut-off valve at the cold water inlet to stop leaks early. Raise a water heater above expected basement flooding level or place it on a platform in flood-prone homes.
Maintain the heater: flush the tank annually to remove sediment, test the pressure relief valve every six months, and replace anode rods as needed. Install a sump pump and test it regularly; consider a battery backup for power outages. For electrical safety, ensure breakers and outlets in the utility area are GFCI-protected and clearly labeled.
Learning From Experience: Building Long-Term Home Protection Skills
They should learn to shut off the main water and breaker panel and practice these steps with family members. Keep a simple toolkit, a hose for draining the tank, and phone numbers for a licensed plumber and a professional restoration service in an accessible place.
Enroll in one short course or watch reputable guides on basic home systems—gas shutoff, pressure relief valves, and sump pump maintenance. Review homeowners insurance and consider adding flood insurance if the home sits in a high-risk zone. Small habits—seasonal inspections, logging maintenance dates, and testing alarms—reduce the chance that a future failure will escalate into basement flooding or structural damage.
More from Decluttering Mom: