

Carving a pumpkin with young kids can be frustrating. Small hands struggle with knives, and the final result rarely looks like the picture in their heads. One mom shares a simple trick she wishes she had known as a first-time mom, and it needs just a cookie cutter and a mallet.

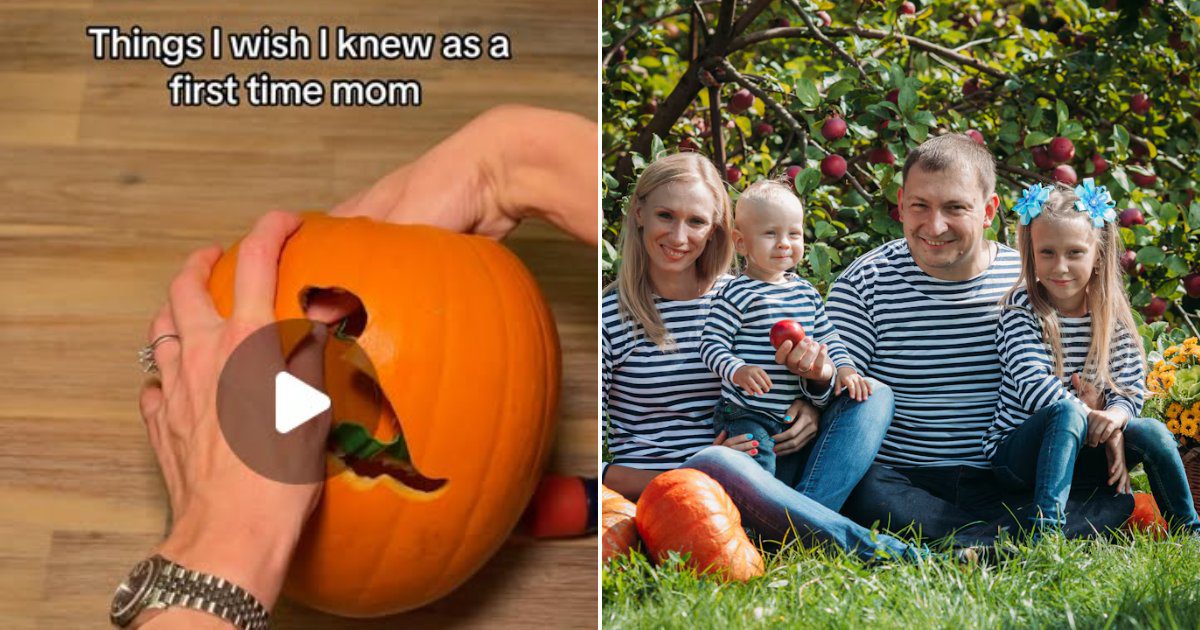
The post from @keisha_motherhood is titled “Things I wish I knew as a first time mom.”
Use cookie cutters instead of knives
Her tip is simple: if your littles struggle to carve pumpkins, use cookie cutters. In the video she presses a metal dinosaur-shaped cookie cutter against the side of a pumpkin and taps it in with a rubber mallet. She then reaches inside the hollowed pumpkin and pushes out the cut-out piece, leaving a clean dinosaur shape in the wall.
Vaseline to help pumpkins last longer
The second part is about keeping the pumpkin from drying out. She scoops a little petroleum jelly on her finger and rubs it along the cut edges. It helps slow drying and shriveling, and her tub of jelly is decorated with sparkly rhinestones.
The finished porch
The last shot is a porch at twilight with a wooden sign that reads “FALL.” Three glowing jack-o’-lanterns sit beneath it: a star or flower design on each side and the dinosaur in the middle.
Tips for carving with kids
- Choose a firm pumpkin with a flat bottom.
- Have an adult do the lid cut and scoop out the seeds, since that needs a knife.
- Press the cookie cutter firmly into the pumpkin and tap with a mallet so the cut is clean.
- Let kids pick their shapes, such as stars, hearts or favorite animals.
- Use battery tea lights instead of candles for little ones.
- Keep finished pumpkins out of direct sun and heavy rain.
Pumpkin carving made kid-friendly
Carving is hard on small hands. Real carving knives are sharp, and pumpkin walls are thick, so most guidance points to letting children handle the safe parts while an adult does any cutting with a blade. That might mean drawing the design with a washable marker, scooping out the insides with a spoon, or pressing a cookie cutter into place.
Giving kids real jobs makes the tradition feel like theirs. Even a toddler can pat the pumpkin, help pull out the pulp with supervision, or choose which shape goes on the front.
Common questions about carving and care
How long does a carved pumpkin last? Not very long. Carved pumpkins usually begin to soften after several days, and warm weather speeds that up. Carving closer to the day you want to display it gives you the best results.
What helps a pumpkin stay fresh? Keeping it out of direct sun and heavy rain helps. Some people also rub a little petroleum jelly on the cut edges to slow drying, as the mom in this story does. Bringing a pumpkin inside on very hot days is another option.
Is a candle safe in a jack-o’-lantern? Battery-operated lights are a safer choice, especially with children and pets around. They produce no flame, and they are easy to switch on and off.
Try this at home: roast the seeds
The insides of a pumpkin do not have to go to waste. Roasted seeds make a tasty snack and are a fun kitchen project for kids who like to help.
- Rinse the seeds well in a colander to remove the stringy pulp.
- Pat them dry with a towel, then spread them on a baking sheet.
- Toss with a little oil and a pinch of salt.
- Roast in a moderate oven, about 325 degrees Fahrenheit, stirring once or twice, until golden and crisp, usually around 20 to 30 minutes.
- Let them cool before tasting, and skip them for very young children who may choke on whole seeds.
More ways to decorate without a knife
- Paint pumpkins with washable, kid-safe paint.
- Decorate with stickers, googly eyes or washable markers.
- Use a push-in decorating kit with small tools designed for kids.
- Press shapes into the pumpkin with cookie cutters and a mallet, with an adult in charge of the tapping.
If your family likes a tradition, consider making pumpkin day a yearly event. Take a photo of each child with their pumpkin, and watch how the designs change as they grow. The pictures become a favorite keepsake over time.
The best pumpkin is the one a child is proud of. Whether it is cut, painted or simply decorated with stickers, the memory of making it together is what lasts.
Credit for the original post goes to @keisha_motherhood on Instagram.