You can turn ordinary kitchen tosses into fresh food and richer soil with just a little know-how and a few simple tools. Save potato eyes, celery bases, pineapple tops, coffee grounds, banana peels, and eggshells to regrow vegetables or boost your garden’s nutrients instead of sending them to the trash.
This post shows how to regrow plants from scraps and how to turn leftovers into natural fertilizer, so you can stretch your grocery budget and cut food waste while enjoying homegrown produce.
Start with easy wins you can do on a windowsill or in a small patch of soil, and build toward using scraps to feed your garden naturally and sustainably.
How to Grow New Plants From Kitchen Scraps
You can turn common food leftovers into fresh herbs, greens, and small vegetables with a few tools, sunlight, and patience. Focus on easy-to-regrow items, follow simple steps to root or seed them, and match each scrap to the right container and light.
Best Vegetables and Fruits to Regrow
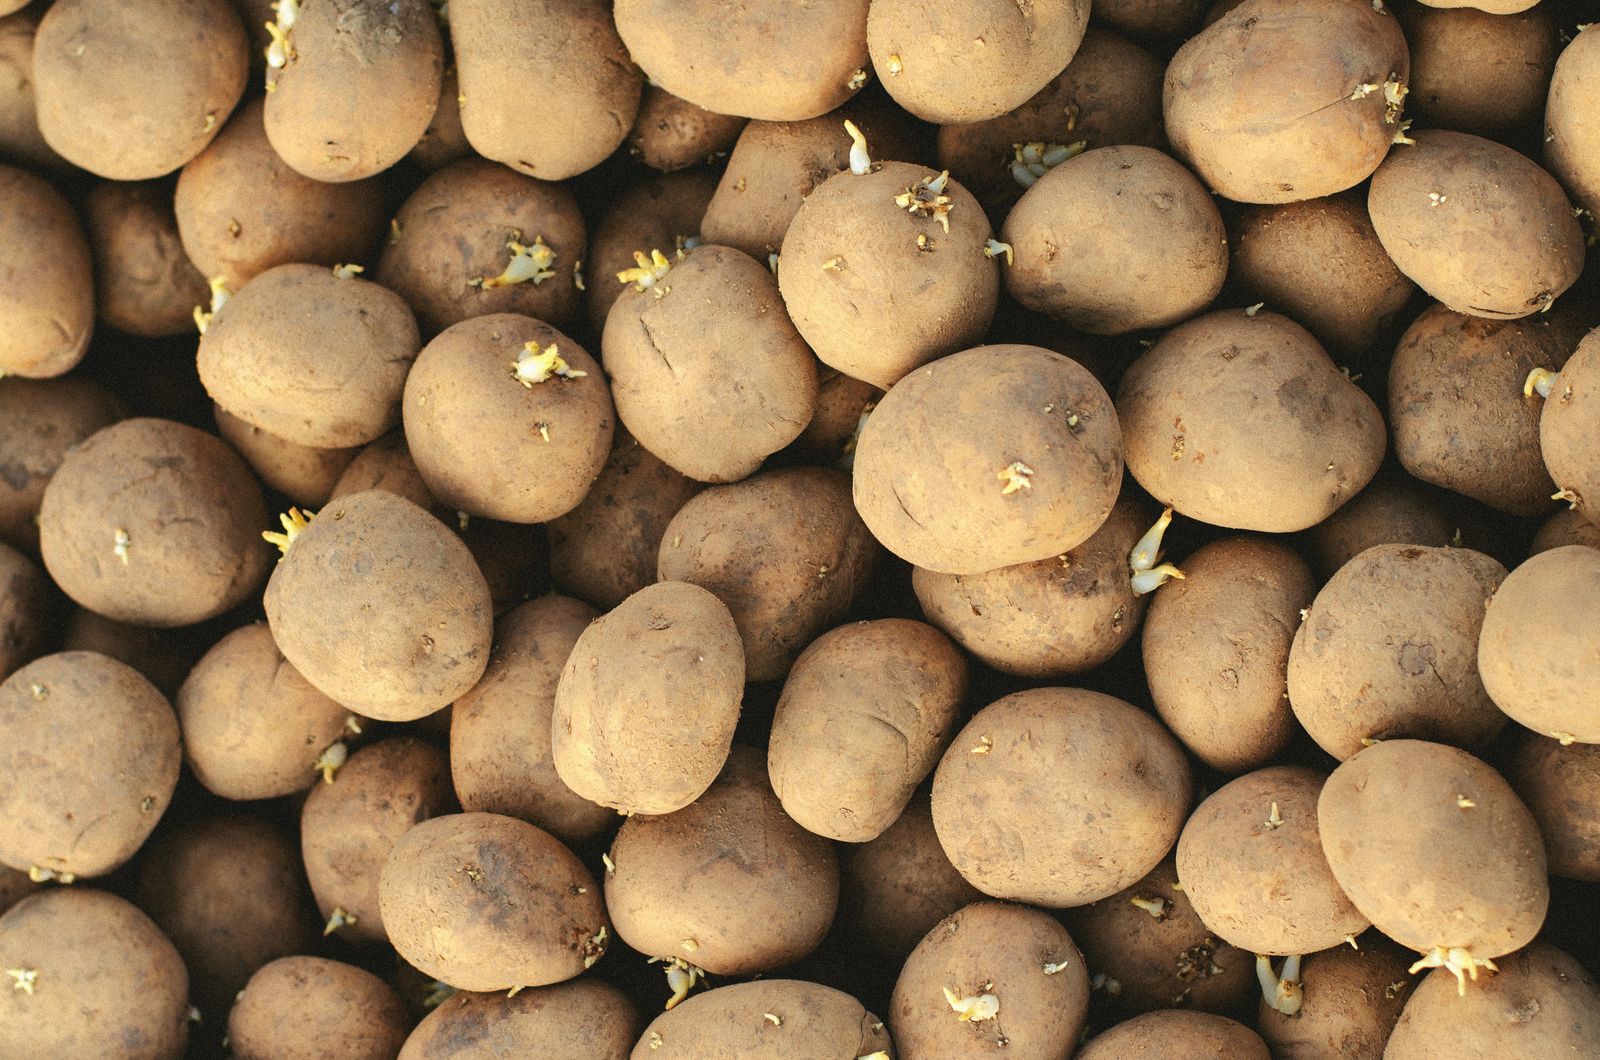
Start with low-effort winners: green onions, lettuce and bok choy, celery bases, and basil stems root reliably in water or shallow soil. Garlic cloves and onion bottoms go straight into potting mix for bulbs or scallions. Potatoes and sweet potatoes sprout from “eyes” or whole tubers; let cut pieces callous 24 hours before planting.
Fruits like avocado pits, pineapple tops, and citrus seeds can grow into houseplants but take longer to fruit. Save seeds from tomatoes, peppers, and some melons; dry them before planting. For quick harvests, prioritize leafy greens and herbs—these give frequent cut-and-come-again harvests that reduce waste and stretch groceries.
Simple Steps for Starting a Scrap Garden
Choose a container with drainage and a light potting mix for most scraps. For water-based regrows (green onions, basil, celery), use a clear jar with 1–2 inches of water and change it every 3–4 days to prevent rot. Move to soil once roots reach 1–2 inches.
For direct soil regrows (garlic, onion, potato): plant the clove or sprouted eye 2–4 inches deep, keep soil consistently moist, and place in bright indirect sun. For seeds (tomato, pepper), sow to twice their seed depth in seed-starting mix, keep covered until germination, and provide warmth (70–80°F) to speed sprouting. Label containers and stagger plantings so you always have something ready to harvest.
Tips for Success Indoors and Outdoors
Indoors, give plants 6–8 hours of bright light or use a 12W–24W LED grow light for 10–14 hours daily. Rotate pots weekly so growth stays even. Use a saucer to catch excess water and avoid standing moisture that invites mold.
Outdoors, harden off transplants by exposing them to longer periods outside over a week. Plant frost-sensitive regrows after the last local frost and space according to mature size—leafy greens need 6–12 inches, while potatoes need 12+ inches. Feed with a balanced liquid fertilizer every 3–4 weeks once roots establish. Monitor for pests; hand-pick slugs and use floating row cover for young transplants.
Turning Kitchen Scraps Into Natural Organic Fertilizer
You can turn common kitchen scraps into nutrient-rich, low-cost fertilizer that feeds plants and boosts soil life. Simple methods—soaking, fermenting, or burying—deliver nitrogen, potassium, calcium, and micro-nutrients while cutting waste and expenses.
Using Used Coffee Grounds for Healthier Soil
Used coffee grounds add nitrogen and organic matter to soil without strong acidity after brewing. Sprinkle grounds thinly (no more than 1/2 inch) around established plants or mix them into potting soil at roughly 10–20% by volume to improve structure and drainage.
Coffee grounds also stimulate microbial activity. Spread a light layer in vegetable beds or work them into the top 2–3 inches of garden soil to help earthworms and beneficial microbes break down organic matter faster. Avoid thick mats that can repel water; if you collect lots of grounds, blend them with dry leaves or shredded paper before adding.
For potted plants, dissolve grounds in water or add a tablespoon to a quart of potting mix. Use sparingly on acid-sensitive plants; most ornamentals and vegetables benefit. If you want a quick guide, this short article explains practical uses for coffee grounds in gardens: using coffee grounds in the garden.
DIY Organic Fertilizer Blends With Everyday Scraps
Make a balanced liquid fertilizer by steeping 2 cups of mixed kitchen scraps (banana peels, vegetable trimmings, and crushed eggshells) in 1 liter of water for 24–48 hours, then strain. Dilute the resulting tea 1:4 before watering to avoid root burn.
For a fermented concentrate, combine 2 cups chopped scraps, 1 tbsp molasses, and 1 liter water in a jar. Loosely cover and stir daily for 5–7 days. Strain and dilute 1:5 for heavy feeders like tomatoes or flowering annuals. Use eggshells for calcium—crush and mix into the soil or bake and grind to speed breakdown.
If you prefer direct application, chop scraps finely and bury them 3–6 inches from plant roots. This releases nutrients slowly and reduces flies. Keep to plant-based scraps only; avoid meat, dairy, and greasy foods to prevent pests and odors.
Helpful quick-reference:
- Fast liquid: 24–48 hr soak, dilute 1:4
- Fermented concentrate: 5–7 days, dilute 1:5
- Slow-release: chop + bury 3–6″ from root zone
Environmental and Cost Benefits of Reusing Scraps
Reusing kitchen scraps cuts landfill waste and reduces methane emissions from organic matter decomposition in anaerobic conditions. Every bucket of scraps you divert to the garden lowers household trash volume and the need to buy synthetic fertilizers.
Financially, homemade fertilizers save money. A weekly diluted kitchen-tea feeding replaces multiple store-bought liquid feeds across a season. You also improve soil structure and water retention, which reduces your watering frequency and further saves resources.
Sustainable gardening practices like this close nutrient loops on a small scale. By using what you already have, you build healthier soil biology and reduce reliance on chemical inputs while keeping your budget under control.