Before you spend money on a trip to the container store, take a look at what is already sitting in your recycling bin. A crafter at Frugal Creative Living says she spent the last few weeks turning cereal boxes, toilet paper rolls, foil roll tubes and a couple of cheap cooling racks into organizers that finally tamed her messy closet, dresser and kitchen cabinet.
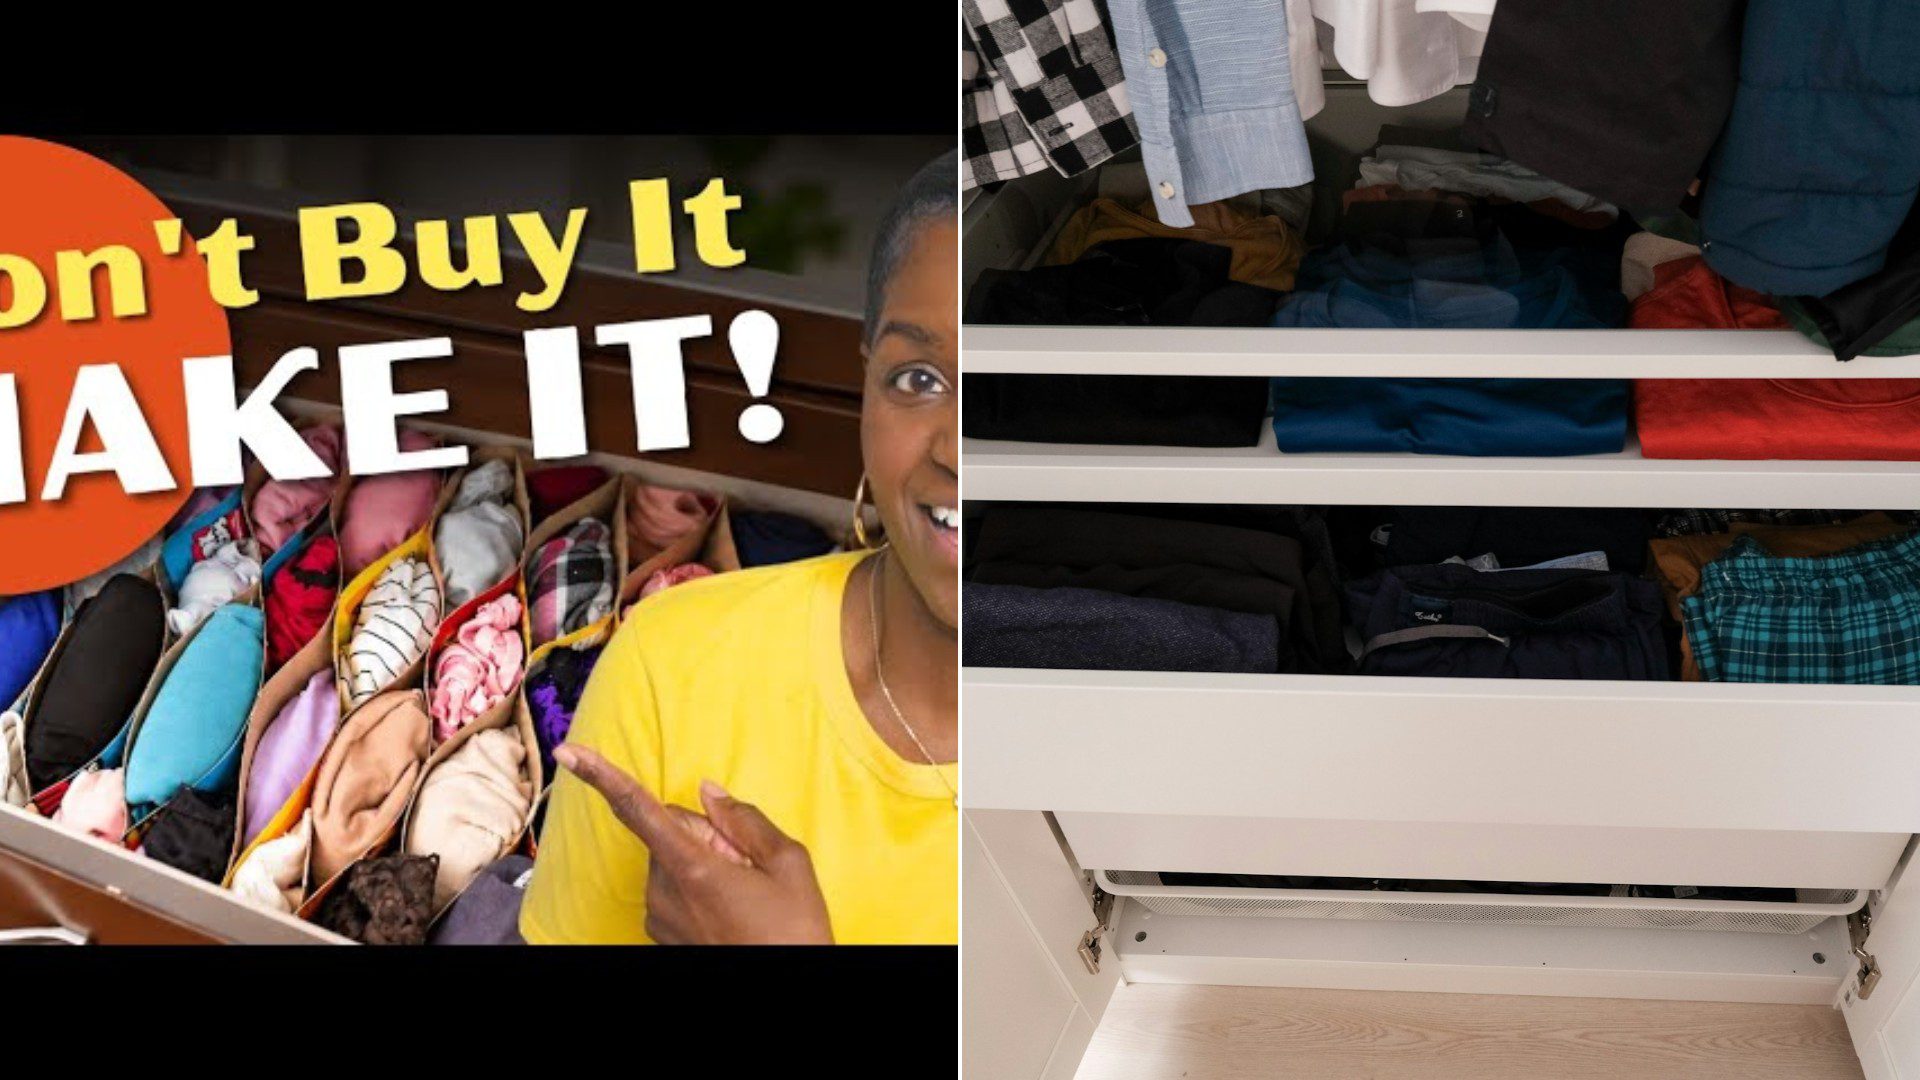
Her motto is simple: use what you have before you shop. She says this is the perfect time of year to declutter and get organized, but she does not like spending a lot of money doing it, so every project she shares starts with something most of us would toss.
Here is how each one came together, and what you can borrow for your own home.
A Lunch Meat Container Becomes Cabinet Door Storage
Some items tend to slip out of sight in her kitchen, like powdered mixes and sauce packets. She grabbed an empty lunch meat container and cut it in half. She tried to peel the label off, even using a blow dryer, but it would not budge, so she covered it with chalkboard label paper from Dollar Tree instead.
Then she applied nano tape and mounted the container on the inside of a cabinet door. Now the powders and sauce packets are visible every time she opens the door. As she puts it, how was she going to use things she could not see? Now she can see them.
Cooling Racks Turn Into Closet Space Savers
Next she headed to the bedroom with a cooling rack. She admits she bought it at Dollar Tree, but it is a kitchen item at heart. She needed more room in her closet, so she borrowed her husband’s heavy-duty wire cutters and snipped off the in-between pieces of the rack.
She then cut empty foil rolls down one side. She says these are narrower and sturdier than paper towel rolls, which makes them perfect for this job. She slid the rolls onto the cooling rack and attached a heavy-duty hanger to the top using zip ties. The result is a multi-pants hanger that uses vertical space and frees up both hangers and horizontal room in the closet.
She made a second one for scarves, which had been, in her words, losing their minds in a bottom drawer. She zip-tied a hanger to the top of another cooling rack and hung one scarf on each bar. Her tip is to keep both ends of each scarf on the same side of the rack so you can see every one. Otherwise the top scarves cover the bottom ones and the rack does no good.
Cereal Boxes Become a Drawer Organizer
Her dresser drawer was a ridiculous mess, and she could never find what she needed. She dug into her cereal box stash and cut a bunch of boxes into strips three inches wide, which she did while watching Singin’ in the Rain, one of her favorite movies.
She tried hot glue first, but it would not hold. E6000 glue worked, and she used it in an alternating pattern. On one strip she put glue at the top, middle and bottom. On the next, she put it halfway to the middle and halfway from the middle to the bottom. She repeated that with about 23 strips, then held the whole stack together with binder clips and let it dry for 24 hours.
When she unclipped it, she had an accordion, honeycomb style organizer that fit right into the drawer. She says it made getting dressed in the morning much easier.
Toilet Paper Rolls Hold the Rings
Her last project handles jewelry she does not wear every day. She used to have to open every box to find what she wanted. So she took a flat box and a few empty toilet tissue rolls from her repurpose bin and cut the rolls into half-inch pieces. She covered each piece with decorative duct tape, added some flair to the lid and attached a loop for opening. Then she glued the rolls into the box with hot glue and slipped her rings in. It became a central spot for her infrequently used jewelry, and she was amazed at the space it freed up.
Tips for Trying These at Home
You do not need her exact supplies to borrow the ideas. Here are a few practical notes drawn from her projects.
- Use a strong glue for cardboard. She found hot glue did not keep the cereal strips together, and E6000 did the job.
- Give glued projects time. Her accordion organizer needed a full 24 hours with binder clips holding it in place.
- Measure your drawer before you cut. Strips three inches wide worked for her, but your drawer may call for something different.
- Use sturdier tubes for hanging. She chose foil rolls over paper towel rolls because they are narrower and stronger.
The bigger lesson is that organizing does not have to start with a shopping trip. Cardboard, tubes and a few dollar-store racks can solve the same problems as pricey bins, and the projects can be done in an evening or two. She also reminds viewers that the best organizing system is the one that lets you see what you own. Whether it is sauce packets, scarves or rings, once everything is visible, you stop buying duplicates and stop losing things.
It is also a good way to keep clutter out of the recycling and landfill. Every cereal box strip and tissue roll she used was headed for the bin anyway. If you have a repurpose bin of your own, this might be the weekend to dig into it.
As the crafter signs off in her video, the idea is to spend less and create more. A closet that finally has room to breathe, a dresser you can open without a fight and a cabinet door that works for you might be reason enough to start.
More Stories You May Like
- School Tells a Parent to Stop Making Their Kid Good Lunches Because Other Kids Are Jealous and Parents Are Furious
- Minimalism Author Joshua Becker Shares the Powerful Question to Ask When Decluttering That Pushes Past Your Comfort Zone
- Best and Worst Decluttering Methods Get Tested by One Woman Who Tried Every Single One and Ranks the Results