

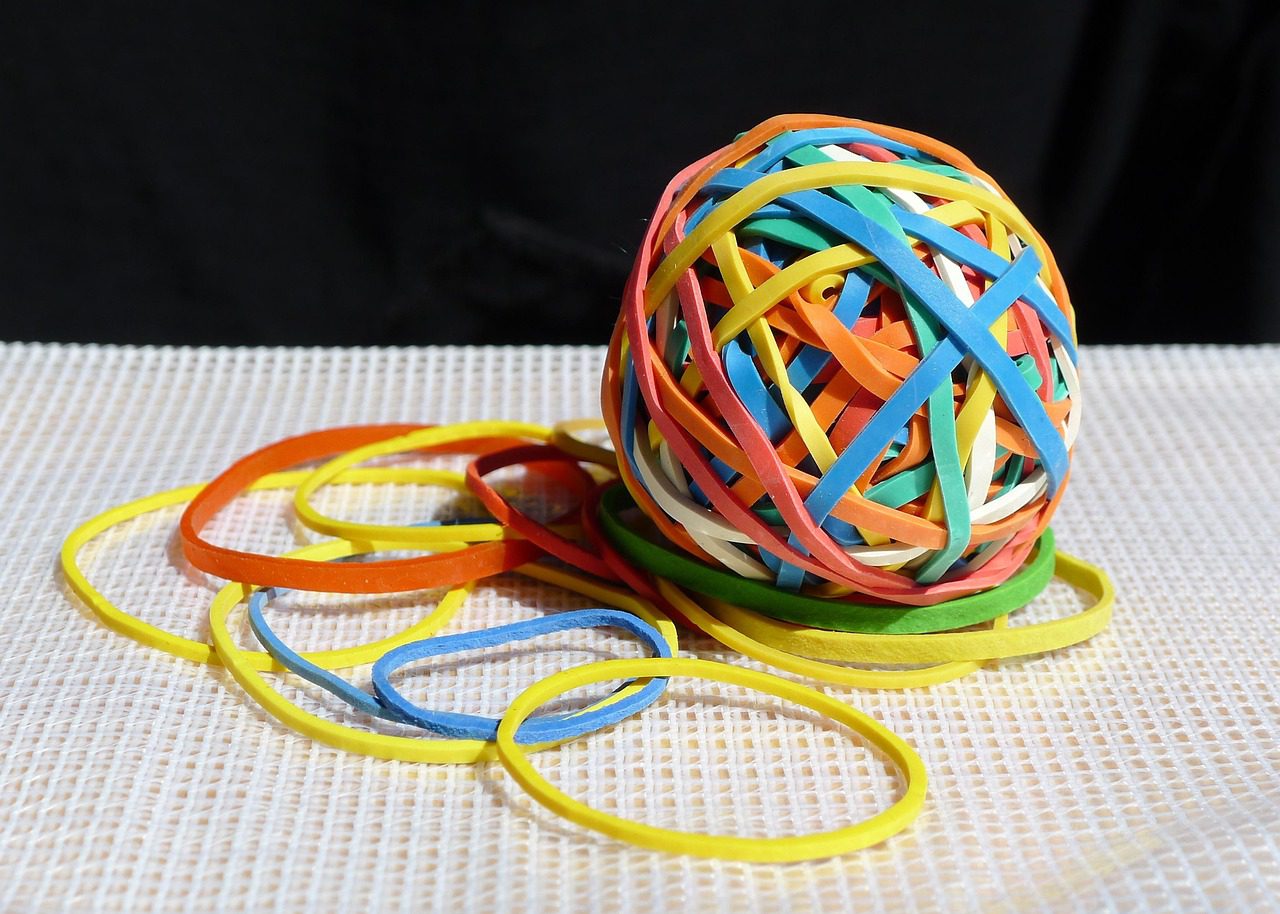
You juggle small household hassles all the time, and simple tools can save minutes and frustration. You’ll discover ten easy rubber band tricks that give immediate, practical fixes for common problems around the kitchen, garage, and closet.These tips use items you already have and take seconds to apply, so you can stop wasting time on slippery lids, sliding cutting boards, rattling drawers, and tangled cords. Keep going to pick up quick solutions that make everyday tasks smoother and less annoying.

Use a rubber band around a stubborn jar lid for extra grip
Wrap a wide rubber band once around the lid to increase traction and stop slipping. You’ll get more surface area to hold, so your twist transfers into usable torque.
Dry the lid and your hands first for best results. If one loop doesn’t cut it, add a second crossed loop for more tread-like grip.
For a concise guide on band size and placement, see the rubber band jar opener tip at The Daily Meal (rubber band hack).
Wrap rubber bands around a paint can to wipe off excess paint from the brush
Stretch a sturdy rubber band across the can opening so it forms a taut wiping edge.
When you pull the brush, drag it against the band to return excess paint to the tin and keep the rim clean.
Position the band near the center and keep it tight; this reduces drips and helps the lid seal properly.
You can also rest the brush on the band briefly to avoid dipping too deep and wasting paint.
Place rubber bands under a cutting board to stop it sliding
Wrap or lay wide rubber bands near the board’s edges, then set the board on top so bands touch the counter.
This raises friction and keeps the board steady while you chop.
Use thick bands for a stronger grip and position them an inch or two from corners.
Keep bands away from food contact areas and swap them if they wear out.
For a quick visual guide, try this simple rubber band cutting board hack.
Loop a rubber band over stripped screw heads for extra grip while unscrewing
Place a wide rubber band flat over the stripped screw head, then press your screwdriver into the band so it fills the damaged grooves. The rubber adds traction and helps the driver bite where metal can’t.
Turn slowly and apply steady pressure to avoid slipping. If the band tears, try a thicker band or wrap it twice for more grip.
If that fails, a precision bit or extraction tool may be necessary. For a quick visual guide, see this rubber band method demonstration (https://www.wikihow.com/Use-a-Rubber-Band-to-Unscrew-Stripped-Screws).
Secure rolled clothes with rubber bands to save packing space
Roll each outfit tightly—shirt, pants, socks—and wrap two rubber bands around the bundle to keep it compact. This prevents rolls from loosening and lets you fit more into packing cubes or a suitcase.
Use thin bands so they don’t bulge under fabric. Rubber bands also keep outfits together for quick grabbing during trips.
For delicate fabrics, put a band around a small piece of tissue first to avoid marks. Try this to squeeze extra inches from your luggage without adding weight.
Wrap rubber bands around eyeglass temple tips to prevent slipping
Slip small rubber bands or hair ties onto each temple tip to add grip where the frames touch your ears. This creates friction that keeps glasses from sliding down without changing frame shape.
Choose thin, soft bands so they sit comfortably under your ear. Replace them when they stretch or become brittle to maintain a secure fit.
If you prefer a store option, look for silicone temple grips that work the same way and last longer than rubber.
Bundle loose cords with rubber bands and a simple label tag
Grab a rubber band and loop it around cables to keep them neatly coiled; small bands work well for phone chargers and thicker ones for power cords.
Attach a paper or plastic label to one end before looping so you can quickly identify each cable without unwrapping.
Use a permanent marker or printed sticker for the label; this saves time when unplugging or moving devices.
For extra durability, cover the label with clear tape to prevent smudging and slipping.
Stretch rubber bands across a drawer to keep utensils from rattling
Place several rubber bands stretched front to back across the drawer to create gentle dividers.
They add friction so spoons, spatulas, and knives stay put instead of clattering when you open or close the drawer.
Use thicker bands or double them for heavier items, and anchor ends under existing drawer rails or use small adhesive hooks.
This method is inexpensive, reversible, and quick to adjust as your utensil collection changes.
Use a rubber band on a hammer head to prevent marring when tapping
Wrap a thick rubber band around the hammer head so the claw or striking face gets a protective cushion.
This prevents metal from scuffing painted walls or denting soft materials when you pull nails or tap parts into place.
The band stays put and absorbs small impacts, letting you work more carefully without extra tools.
For a visual guide, see the Lifehacker tip on wrapping a hammer with a rubber band (https://lifehacker.com/wrap-a-hammer-with-a-rubber-band-to-keep-it-from-destro-5929215).
Slip a rubber band over a door handle to keep it from latching (temporary childproofing)
Loop a rubber band around one doorknob, twist it once, and hook it over the other knob so the latch stays depressed. This simple fix stops the door from clicking shut and helps prevent little fingers from getting trapped.
Use a sturdy band and check it regularly; this is a temporary, non-damaging measure for short-term childproofing. For heavier doors or long-term needs, consider a dedicated child-safety latch.
Try this when you need hands-free access or when carrying items through the doorway.